
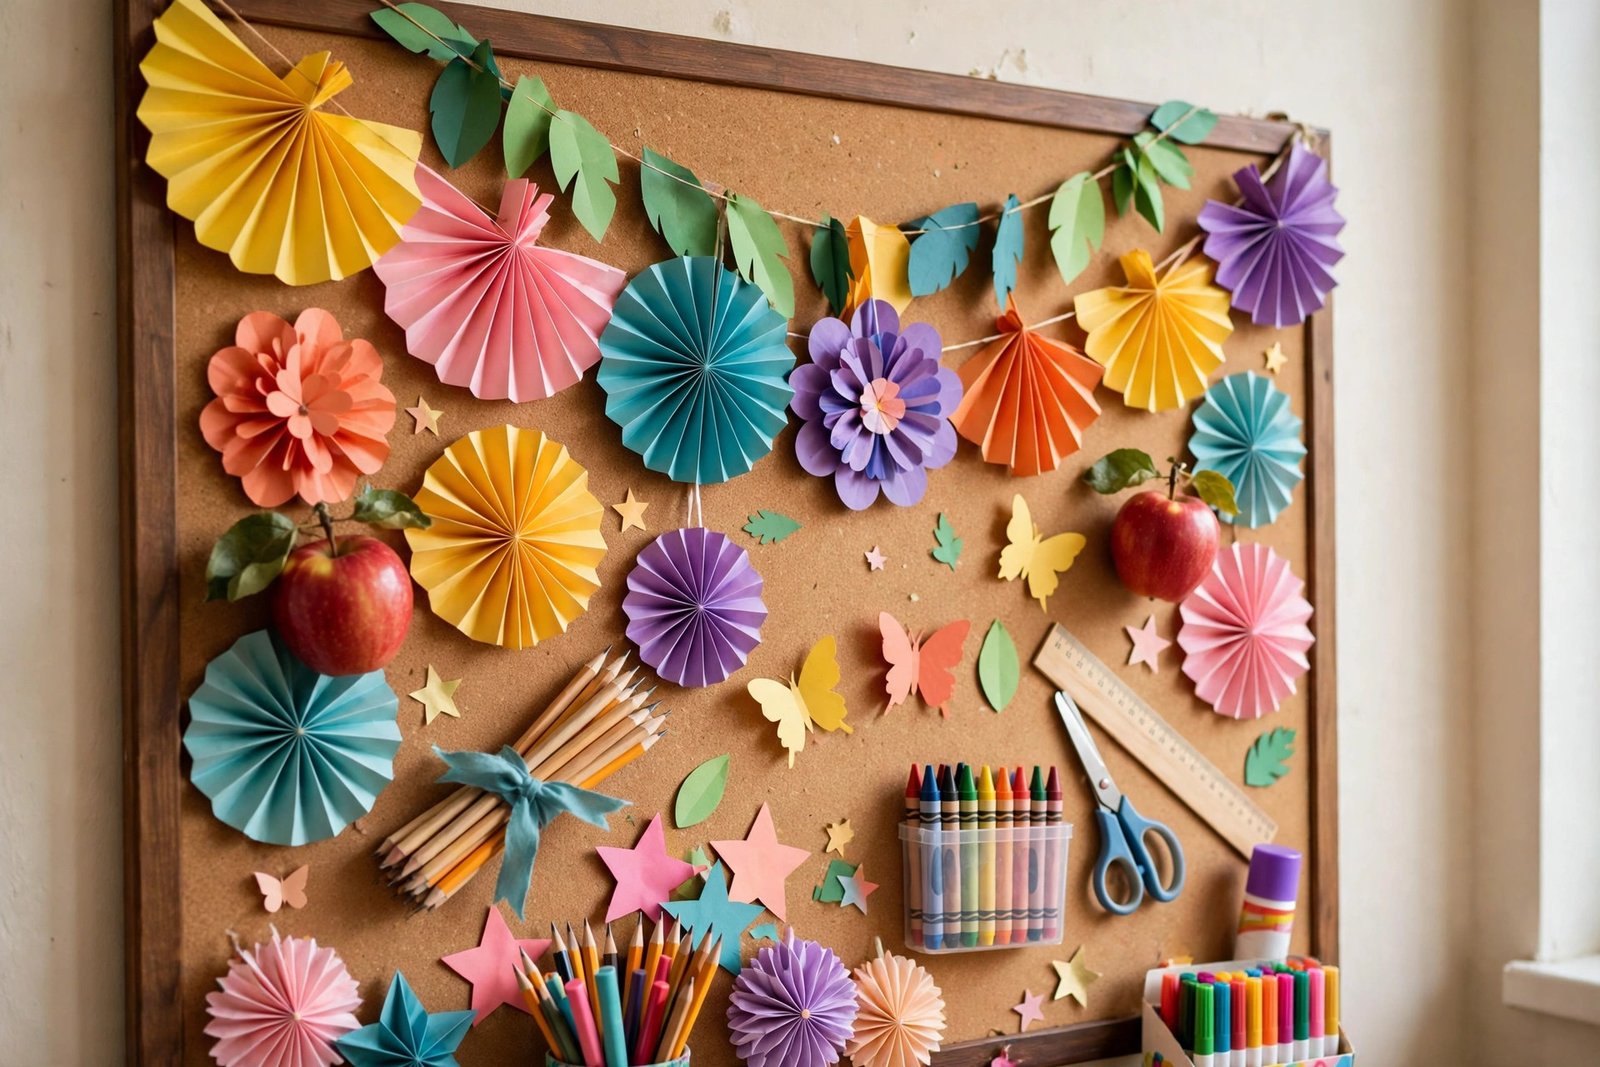

A great back-to-school bulletin board is a working display, not wall decoration. It is the first thing students and families notice in August or September, and it sets the tone for how the classroom runs. A strong board does three jobs at once. It makes the room feel warm and ready, it tells students something useful about the year ahead, and it invites participation instead of just sitting there. When a board hits all three, kids stop, read, and come back to it all month.
Table of Contents
Those first two weeks of school are a rush of names, rules, and routines, and a tired teacher can still pull together displays that look fantastic. You do not need a craft-store budget or a free Sunday afternoon. Most of the ideas below use paper you already have, a little color, and one clever layout choice that makes the whole thing pop. Some boards take twenty minutes. A few are bigger weekend projects. All of them are built for real hallways and real classrooms, where staples pop out and tape gives up by October, so durability is baked into every plan.
I have grouped the 25 ideas by what they do for your room. Welcome boards greet everyone who walks by. Photo and name boards make each student feel seen from day one. Goal-setting boards give September a sense of direction. And the interactive boards are the ones kids actually touch, flip, and add to. Mix one or two from each group and your room will look intentional without looking overdone. Let us get into the details, starting with the practical numbers.
| Board style | Prep time | Cost | Best location |
|---|---|---|---|
| Welcome sign boards | 20-30 minutes | Under five dollars | Outside classroom door |
| Student photo grids | 1 hour plus printing | About ten dollars | Classroom back wall |
| Name and roster displays | 30-45 minutes | Under five dollars | Near the entrance |
| Goal-setting trackers | 45-60 minutes | Five to ten dollars | Along a side wall |
| Interactive flip boards | 1-2 hours | Ten to fifteen dollars | Hallway for traffic |
| Seasonal decor boards | 30 minutes | Under five dollars | Any empty wall space |
| Curriculum preview boards | 45 minutes | Under five dollars | Near subject area |
This table is honest, not fancy. Prep time assumes you already know what you are making. Cost covers paper, border trim, and printing. The best location column matters more than people think, because a board kids cannot reach never becomes interactive, and a welcome board hidden inside the room never greets anyone. Now on to the ideas.
Board Basics and Quick Setup Tips
Before the fun part, three setup habits will save every board on this list. First, layer your background paper. One color of fadeless paper behind everything gives the base, and border strips add the contrast that keeps letters readable from the hallway. Second, cut letters from card stock, not construction paper. Card stock letters stay flat and bold for months while construction paper curls by Labor Day. Third, staple everything that matters. Tape fails in humid August hallways and glue sticks give up on textured paper. A staple gun and a flat-head screwdriver for removing mistakes beat any adhesive. These basics apply to all 25 ideas below.
Welcome Boards That Set the Tone
1. The Big Colorful Welcome Sign
Cut the word Welcome from bright yellow card stock at least twelve inches tall and center it across the top of your board. Fill the rest of the space with simple die-cut or hand-cut shapes, like stars, apples, and pencils, in alternating red, blue, and green. Add a short line of smaller text underneath, something like We are glad you are here. Use a wide scalloped border in navy to frame the whole thing. This board goes outside your door and takes about twenty-five minutes once the letters are cut. It reads clearly from twenty feet away, which is exactly what a welcome board should do.
2. Suitcase and Travel Theme
Back-to-school is the start of a journey, and this board runs with that. Cover the board with light blue paper for the sky and add a big paper suitcase in the middle, built from a brown rectangle, two handle straps, and corner patches. Around it, tape paper airplanes with students' names on the wings. The heading reads Pack Your Bags for a Great Year. Kids love finding their own airplane, and the travel theme keeps working through September. Print the airplanes on white card stock so names stay readable.
3. Hot Air Balloon Arrivals
Cut five or six large hot air balloons from bright patterned paper, each about a foot tall, with a small paper basket hanging below. Write the words Up Up and Away into third grade, or whatever grade you teach, in big letters across the top. Place a few fluffy white clouds cut from white paper around the balloons. Bold balloon colors against a sky-blue background make this one of the brightest boards in any hallway. The trick is spacing, so leave two inches of blue showing between every balloon to keep the layout from feeling crowded.
4. Rainbow of New Beginnings
Paint or paper a wide rainbow arc across the center of the board using six strips of colored paper, red through purple, each about three inches wide. Above the arc, place the heading A Rainbow of Possibilities. Below it, stick small white clouds and add a short line of text explaining that every color stands for something you will learn this year. This board is cheap, fast, and incredibly cheerful. The rainbow arc is the whole design, so do not clutter it. Let the colors carry the board and add only the clouds and heading.
5. Popsicle Welcome Treats
This one is a student favorite. Cut large popsicle shapes from bright paper, one stick and one frozen treat per student, and write each child's name across their popsicle. The heading reads You Are the Coolest Class. Mount the popsicles in straight rows like a freezer display. Use a light blue background so the bright popsicle colors stand out, and add a darker blue border. The names make it personal from day one, and kids for theirs on day one. Seal the deal with a real popsicle handout on the first Friday.
6. Superhero First Day
Cut a large comic-style burst from red paper and write Pow You Made It to third grade in yellow letters inside it. Surround the burst with smaller starbursts carrying words like strong, smart, kind, and brave. Add a city skyline silhouette along the bottom from gray paper to complete the comic book look. This board tells students the year will be bold and exciting. Keep the word count low so the burst shapes do the talking.
Student Photo and Name Boards
7. First Day Photo Grid
Take a quick photo of each student on the first day, even a phone photo works, and print them as small four-by-six prints. Mount them in a neat grid on black background paper so the photos pop. Above the grid, add the heading Our Class Family. Leave space at the bottom for late arrivals. The photo grid layout turns strangers into a class in one afternoon, and parents stop to find their child every single time. Laminate the prints if you can, because hallway sunlight fades cheap prints by mid-September.
8. Name Tent Gallery
Have students design their own name tents on the first day using folded card stock, markers, and stickers. Then staple every tent, opened flat, onto the bulletin board in tidy rows. The heading reads Meet Our Class. This board costs almost nothing and every piece is student-made, which gives it a texture no store-bought letters can match. The student-made name tents also double as desk name plates for the first week.
9. All About Me Star Shapes
Cut large star shapes from yellow card stock, one per student. Each child fills their star with five facts, favorite food, hobby, pet, dream job, and one fun fact. Mount the stars in a scattered pattern across blue background paper with the heading Stars of the Room. The star shape format keeps the writing short and readable, and kids read each other's stars during free minutes all September. Use a metallic gold border to make the whole board feel like a celebration.
10. Birthday Month Calendar
Draw or print a twelve-month grid and have each student write their name and day on a small cupcake or balloon cutout in their birth month. Mount the grid with the heading Our Birthdays. This board is useful all year, not just in August, and it saves you from the mid-year scramble when you realize you never recorded birthdays. The monthly grid layout is the key feature, so keep it large and legible.
11. Handprint Friendship Tree
Cut a large tree trunk and branches from brown paper and mount them in the center of the board. Each student traces and cuts their own handprint from green paper, writes their name on it, and staples it as a leaf on the tree. The heading reads Growing Together. This is a classic for a reason. The handprint leaves make every child literally part of the display. Add new leaves when new students arrive.
12. Student Self-Portraits
Give each student a square of white paper and ask them to draw a self-portrait, simple is fine. Mount the portraits in a grid with a black border around each square, gallery style. The heading reads Artists of Room 204, or your room number. The gallery grid format makes kid art look intentional and important. Parents linger at this board longer than any other. Keep the squares uniform in size for the cleanest look, and do not fix anyone's drawing, because the charm is in the kid-made lines.
Goal-Setting and Growth Boards
13. This Year I Will Tracker
Divide the board into columns, one per student, and give each child a long strip of colored paper. Each student writes one goal for the year on their strip in big letters, like read twenty books or learn multiplication. Staple the strips in columns with the heading This Year I Will. Revisit the board in January and let students add a star sticker next to goals they are working on. The public goal strips create gentle accountability without pressure. Keep goals student-chosen, because assigned goals never survive past September.
14. Reading Growth Thermometer
Draw a giant thermometer on the board from the bottom to the top, marked in book counts. Every time the class finishes a read-aloud or a student finishes an independent book, color in a section or add a sticker. The heading reads Watch Our Reading Rise. This board works because progress is visible from across the room. The giant thermometer visual gives kids a reason to cheer when it climbs. Set the top number high enough that the class cannot reach it before winter, because the board should live all year.
15. Kindness Chain Links
Cut strips of colorful paper and keep a basket of them near the board. Whenever a student notices an act of kindness, they write it on a strip and staple it into a paper chain hanging across the board. The heading reads Our Kindness Grows. By October the chain will drape and loop in satisfying ways. The paper chain format is powerful because it grows in public. Read a few links aloud each Friday so the writers get recognized. Replace torn links quietly without making a fuss.
16. Word Collector Wall
Start the year with a big empty board titled Word Collectors. As students find interesting words in books, add them on index cards with the word, a kid-friendly definition, and the finder's name. Sort them loosely by part of speech using colored cards, nouns on blue, verbs on red, adjectives on green. The collector format turns vocabulary into a treasure hunt. Kids will start bringing you words from home. Cap new additions at five per week so the board stays readable.
17. Math Goal Mountain
Cut a large mountain from gray paper and draw a winding path up to the peak. Each student gets a small climber figure with their name, and the figure moves up the path as the student masters skills, times tables, fractions, whatever your year covers. The heading reads Climbing to the Top. The mountain path visual makes progress feel like an adventure. Move figures on Fridays so the whole class watches the climb together. Keep the skill list posted beside the board.
18. Hopes and Dreams Clouds
Give each student a white cloud cutout and ask them to write one hope for the school year. Mount the clouds across a sky-blue board with the heading Our Hopes and Dreams. Save the clouds in a folder in June and hand them back so students can see which hopes came true.
Interactive Boards Kids Keep Touching
19. Question of the Week Flip Cards
Staple small folded cards across the board, each with a fun question on the outside, like what is your favorite breakfast food, and space inside for tally marks. Students lift the flap and add a tally under their answer. Post a new question every Monday. The heading reads Question of the Week. The flip card format is the whole magic here, because kids cannot resist lifting flaps. Use card stock for the cards so they survive hundreds of little fingers. Announce the results each Friday.
20. Book Recommendation Pocket Chart
Staple library pockets or folded paper pockets in rows across the board. Each student writes a book recommendation on an index card, title, author, and one sentence about why they liked it, and slides it into a pocket. The heading reads Books We Love. Students browse the pockets during free reading time and pull cards to find their next book. The pocket chart format keeps recommendations organized and browsable. Refresh the cards monthly so the board never goes stale.
21. Would You Rather Voting Board
Post a weekly would-you-rather question in big letters, like would you rather fly or be invisible, with two columns below it. Students place a sticky dot or a small paper vote in their chosen column. Count the votes Friday and post the winner. The voting column format turns a silly question into real data kids can read. Let students suggest next week's question by dropping ideas in a jar. This board lives in the hallway if you want maximum traffic and hallway chatter.
22. Compliment Mailbox Board
Staple a row of small envelopes to the board, one per student, with names on the front. Keep blank compliment slips in a basket nearby. Students write kind notes and drop them in classmates' envelopes. Open the envelopes together every other Friday. The heading reads Kind Mail Delivers Smiles. I tried this in my class last month with a simple version, just ten envelopes to start, and the first Friday opening took twenty minutes because kids kept reading notes aloud and laughing. Two envelopes tore by week three, so I switched to sturdier card stock and the problem stopped. The envelope format makes kindness tangible, and kids guard their envelopes like treasure.
23. Mystery Number Guessing Board
Each week, post clues about a mystery number on the board, like I am between 40 and 60 and I am a multiple of 7. Students write their guesses on sticky notes and post them. Reveal the answer Friday and celebrate the closest guesses. Adjust the difficulty to your grade level, using fractions or decimals for older students. The clue and guess format sneaks real math practice into hallway time. Keep a running scoreboard of weekly winners in the corner for extra motivation.
24. Seasonal Change Tracker
Dedicate one board to the season. In September, post a large tree and have students add paper leaves noting signs of fall they spot, cooler mornings, leaves turning, shorter days. The heading reads Signs of the Season. Update it as the months change, snowflakes in winter, flowers in spring. The seasonal update format keeps one board fresh all year with minimal effort. Take a photo each season for a nice end-of-year slideshow. Kids start noticing the world more carefully, which is a quiet win.
25. Take What You Need Board
This is the simplest board on the list and often the most loved. Cover the board with colorful sticky notes or tear-off tabs carrying short encouraging messages, you are capable, mistakes help you learn, ask for help. Students take one whenever they need it. The heading reads Take What You Need. Restock the notes weekly. The take-one format means the board is never finished, and that is the point. Place it near the door so students grab one on the way in. Refill it on Mondays and watch which messages disappear first.
Wrap-Up
Twenty-five ideas is a lot, and you do not need all of them. Pick the two or three that fit your wall space, your grade level, and your energy in that wild first week. A single well-built welcome board outside your door does more for your classroom culture than five rushed boards nobody reads. Start with the boards that put student names and faces on the wall, because feeling known is what makes a kid walk in on day two already feeling like they belong. The interactive boards can come later in September once routines settle. A bulletin board that changes with the year tells students their classroom is alive, and that is the best first impression of all.
Frequently Asked Questions
Q. How early should I put up back-to-school bulletin boards
A. Most teachers set up welcome boards in the week before students arrive, so the room feels ready on day one. Boards with student names and photos get built during the first week once you have the materials. Interactive boards can wait until the second or third week, when routines are calmer and students have time to engage with them properly.
Q. What is the cheapest way to make boards look good
A. Stick to two or three bold colors instead of buying every shade, because limited color looks intentional and costs less. Fadeless background paper is worth the small cost since it lasts all year without fading. Cut your own letters from card stock rather than buying pre-cut packs, and reuse border trim from year to year by storing it flat in a poster tube.
Q. How do I keep bulletin boards from falling apart by October
A. Staple instead of tape for anything with weight, and use a staple gun for thick layered pieces. Laminate the parts students will touch, like flip cards and voting columns. Check high-traffic boards every Friday and fix loose corners before they spread. Keep a small repair kit in your desk with extra staples, border trim, and pre-cut replacement shapes.
Q. Should students help make the bulletin boards
A. Yes, and the name and photo boards on this list are built for it. Student-made pieces give boards a warmth that store-bought decorations cannot match, and kids take better care of displays they helped create. Give clear jobs, like cutting shapes or writing names, so the help stays useful instead of chaotic. Save the precise lettering and layout for yourself.
Q. How many bulletin boards does one classroom need
A. Three to five is plenty for most classrooms. One welcome board outside the door, one or two student-centered boards inside, and one interactive board give you full coverage without visual clutter. More boards than that start competing for attention and multiply your maintenance work. Hallway boards can add one or two more if your school assigns you hallway space.
Q. Can I reuse back-to-school boards later in the year
A. Many of these ideas are designed for it. The kindness chain, word collector wall, reading thermometer, and seasonal tracker are built to grow across months. Take photos of the September version for your records, then update the content as the year moves on. Boards with student names and photos stay up all year with only minor repairs needed.
