

Last spring, on a rainy Tuesday afternoon, my third graders were restless and the lights kept flickering in our old classroom building. I pulled a stack of scrap paper from the recycling bin and asked the class to build the tallest tower they could in ten minutes. Within seconds, the room changed. Kids who had been staring out the window were folding, testing, and arguing in the best possible way about which base would hold. One tower wobbled and fell, and instead of groans, the whole table burst into planning how to fix it. That small, unplanned moment taught me more than any fancy kit ever has. Simple materials, a clear goal, and a little time can turn an ordinary afternoon into real problem solving.
STEM challenges work best when they feel like play with a purpose. Students build, test, change, and try again. They learn to measure, to count, to observe, and to work as a team without sitting through a long lecture first. The challenges below use materials you probably already have in your classroom or can grab for very little money. Each one is short, hands-on, and easy to adjust for younger or older elementary students. Pick one for a Friday afternoon, use a few across a science week, or build a whole rotation around them.
Table of Contents
Quick Build Challenges
Build challenges are a great place to start because students can see their results right away. They learn about balance, strength, and shapes by touching and testing, not just by hearing about them. Keep the rules simple, give a time limit, and let students explain what worked and what did not.
1. Build the Tallest Paper Tower
Give each group ten sheets of scrap paper and a short strip of tape. The goal is to build the tallest tower that can stand on its own for ten seconds. Students will quickly learn that a wide base beats a tall, skinny start. Encourage them to fold paper into tubes or triangles for extra strength. Let them test, watch it fall, and rebuild with a better plan. Measure each tower at the end and talk about why the tallest ones stayed up.
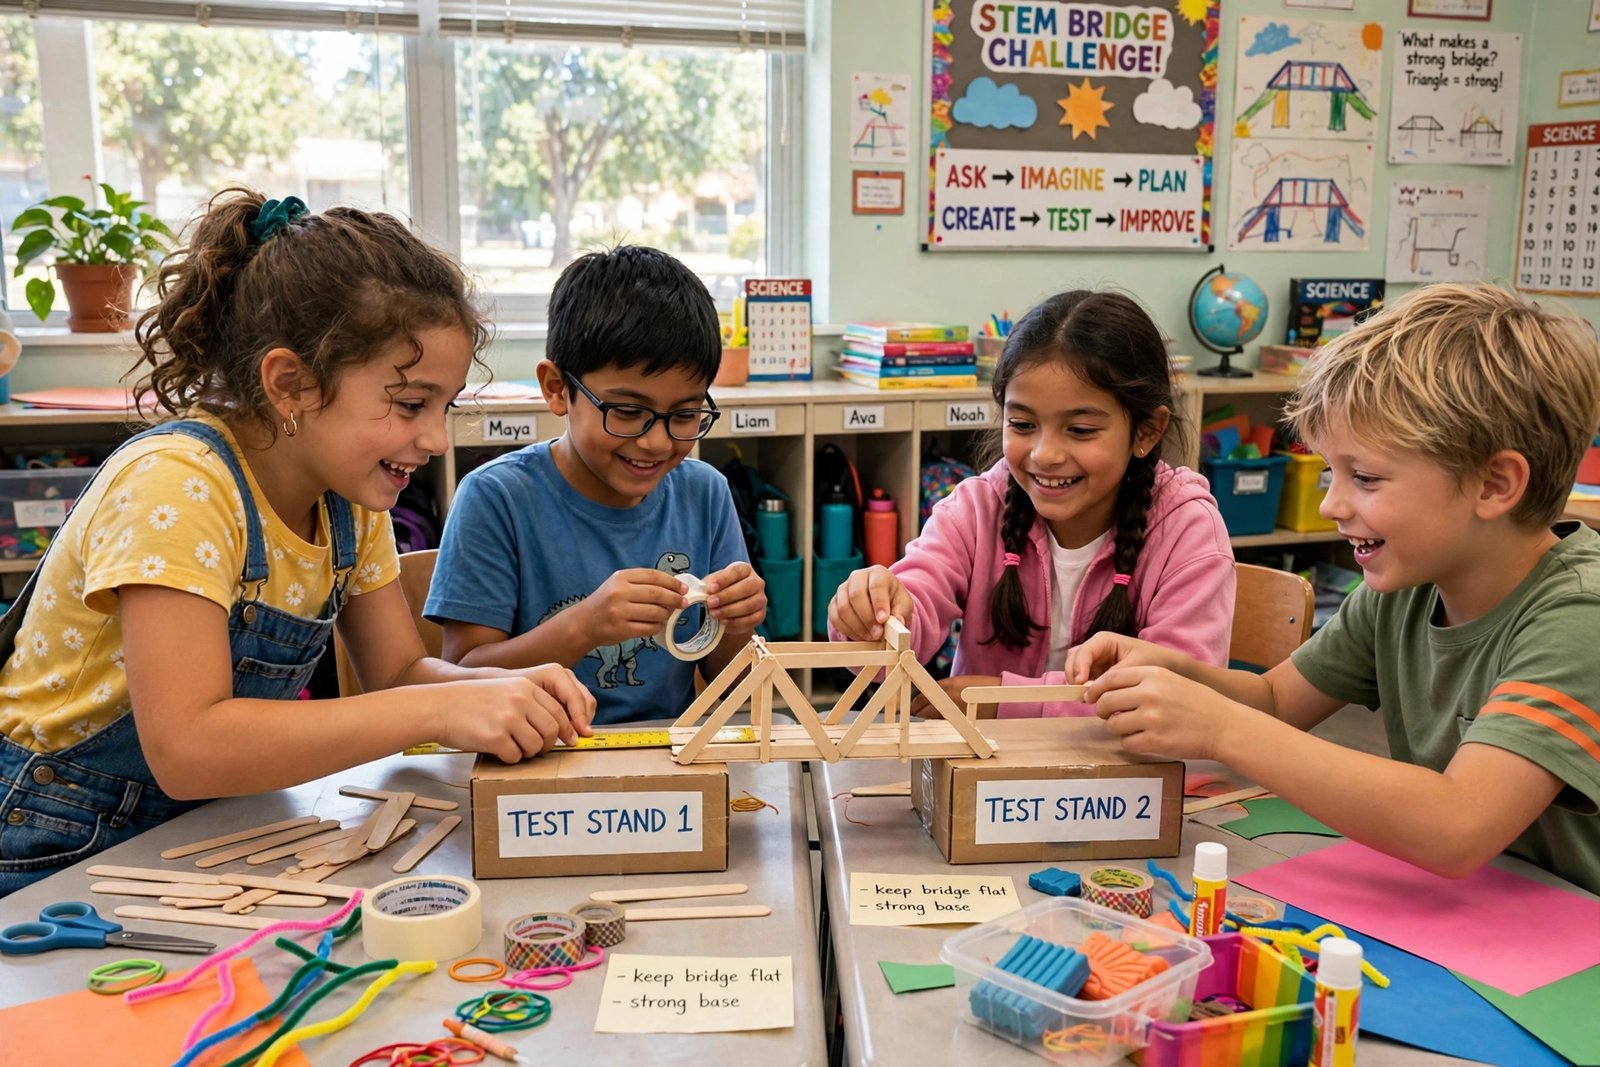
2. Create a Bridge from Craft Sticks
Hand out twenty craft sticks, a few rubber bands, and some tape to each team. The bridge must span a gap between two stacks of books and hold a small toy car or a few coins. Students should test the bridge with light weight first, then add more bit by bit. A flat deck with supports underneath usually holds more than a thin, single layer. Ask students to sketch their bridge before they build, then compare the sketch with the final result.
3. Design a Paper Cup Pyramid
Stack paper cups into a pyramid shape, then try to make it taller without it falling over. This sounds easy until students reach the third or fourth row. They will need to think about steady hands and even layers as the pyramid grows. For a twist, ask them to build the pyramid with one hand behind their back or using only a pair of tongs. Count how many cups each team used and how high their pyramid reached before it toppled.
4. Make a Newspaper Chair
Challenge students to build a chair from rolled newspaper and tape that can hold a stuffed animal or a heavy book. Rolling the paper tightly makes strong tubes, and students soon discover that rolled tubes work like legs when they are grouped together. Let them test the chair slowly, adding weight a little at a time. If it collapses, ask what part gave way first. That question alone leads to better second designs and a lot of proud rebuilding.
5. Build a Marble Run from Cardboard Tubes
Save paper towel tubes, cereal boxes, and scrap cardboard for this one. Students tape tubes to a wall or a board to make a path for a marble to roll down. The marble should travel as slowly as possible or pass through a target at the bottom. A gentle slope keeps the marble moving without shooting off the track. Students will test angles, add curves, and fix gaps where the marble keeps falling out. This challenge rewards patience and careful taping.
6. Construct an Egg Drop Container
Give each student or pair a raw egg, a small box or bag, and a mix of soft materials like cotton balls, bubble wrap, or shredded paper. The container must protect the egg when dropped from a chair or a low step. Students should think about padding on all sides, not just the bottom. After the drop, open each container and talk about what protected the egg and what did not. Repeat with a new design if time allows, since the second try is often much better.
Science and Nature Challenges
Science challenges let students observe, predict, and record what happens. They do not need fancy lab tools. A clear question, a simple setup, and time to watch closely are enough. Encourage students to write down what they thought would happen before they start, so they can compare their guess with the real result.
7. Grow a Seed in a Clear Cup
Plant a bean seed in a clear plastic cup filled with damp soil or a wet paper towel. Place the cup near a window and ask students to draw what they see every few days. They will watch roots grow down and a sprout push up, which makes plant growth easy to see day by day. Have students measure the sprout with a ruler and record the height in a simple chart. Talk about what plants need, such as water, light, and soil, as the seed changes.
8. Test Which Materials Float or Sink
Fill a tub with water and gather classroom objects like a crayon, a coin, a sponge, a craft stick, and a rubber eraser. Before testing, students guess which items will float and which will sink. Drop each item in slowly and record the result in a chart. Students will notice that shape and material both matter, since a flat piece of foil may float while a ball of foil sinks. This simple test leads to great questions and a second round of testing with new objects.
9. Make a Simple Water Filter
Layer sand, gravel, cotton balls, and a coffee filter inside a cut plastic bottle. Pour muddy water through the top and watch what comes out at the bottom. The water will not be safe to drink, and students should know that from the start, but it will look much clearer. A slow pour through many layers works better than a fast pour through one layer. Let students change one layer at a time and compare results, which teaches fair testing in a very clear way.
10. Build a Mini Weather Station
Set up a simple rain gauge from a clear jar with measurement marks, a wind sock from a paper bag, and a thermometer placed in the shade. Students check the tools each morning and record the weather in a class chart. Over two weeks, they will start to see patterns in temperature and rainfall that they can talk about with real numbers. This challenge works well as a morning job, with a different student taking the reading each day and reporting it to the class.
11. Create a Shadow Tracker
Place a stick upright in a sunny spot outside and mark where its shadow falls with chalk every hour. Students will see the shadow move and change length during the day. A morning shadow looks very different from a midday shadow, and students love spotting that change for themselves. Have them draw the shadow positions on paper and write one sentence about what changed. This quiet outdoor challenge fits well with lessons about the sun, time, and seasons.
12. Test Ice Melting Speeds
Give each group three ice cubes and three small cups. Leave one cup in the sun, one in the shade, and wrap one in a towel or cloth. Ask students to predict which cube will melt first, then check every five minutes. They will find that warmth and insulation change melting speed in ways they can measure with a clock. Record the time each cube takes to melt fully and talk about why the wrapped cube lasted longer. This is a calm, focused challenge that works well indoors near a window.
Math and Design Challenges
Math and design challenges help students use numbers in a real task instead of only on a worksheet. Counting, measuring, and planning become tools for building something, which makes the math feel useful. Keep the steps clear and let students check their own work as they go.
13. Design a Classroom Floor Plan
Give students graph paper and ask them to draw a floor plan for their dream classroom. Each square stands for one step, and they must fit desks, a reading corner, a teacher table, and a door. Students will need to count squares and plan the space before they start drawing, or the furniture will not fit. When the plans are done, let students present one smart choice they made, such as leaving a clear path to the door or placing the reading corner near the window.
14. Build a Pattern Block Picture
Use pattern blocks or paper shapes to create a picture with a repeating pattern, such as a flower, a house, or an animal. Students must follow a pattern rule, like red triangle, blue square, red triangle, blue square, and keep it going across the whole picture. A clear pattern rule makes the picture easier to build and easier for a friend to continue. Ask students to trade pictures and try to guess each other's pattern rule. This challenge builds early algebra thinking without feeling like a math lesson.
15. Plan a Tiny Garden Bed
Give each group a small rectangle on paper and a short list of plants with spacing rules, such as one plant per square or two plants per row. Students must fit as many plants as possible without breaking the spacing rules. They will need to measure, count, and adjust the layout several times before it works. For a class garden connection, use the winning plan as a model for a real raised bed or a set of pots. Students enjoy seeing a paper plan turn into something they can actually plant.
16. Create a Code Path for a Friend
Draw a grid on the floor with tape or on large paper. One student stands at the start and a partner gives step-by-step directions, such as move forward two squares, turn left, and move forward one square. The goal is to reach a target square without stepping outside the grid. Giving short, clear steps in the right order is harder than it sounds, and students quickly learn to check each step before moving on. Swap roles so every student gets to give directions and follow them.
17. Make a Measuring Scavenger Hunt
Write a list of classroom objects to find by measurement, such as something about ten centimeters long, something taller than a pencil, and something shorter than a book. Students use rulers or measuring tapes to check each object before they write it down. They must measure carefully and record the number, not just guess by looking. This challenge gets students moving around the room with a purpose and builds real measuring skill. Finish by comparing answers and talking about objects that fit more than one clue.
18. Design a Marble Maze on Paper
Draw a maze on a large sheet of paper with a start point, an end point, and walls that leave only one clear path. Then tilt the paper gently to roll a marble through the maze without touching it. A wide path with gentle turns is much easier to finish than a narrow path with sharp corners. Students will test their maze, find spots where the marble gets stuck, and redraw those sections. This final challenge combines drawing, planning, and testing in one satisfying activity.
I tried the paper tower challenge in my class last month, and here is what happened. One group built a tall, proud tower that fell the moment I walked past their table. Instead of starting over in a rush, they rebuilt it with a wider base and shorter top, and it stood through the whole measuring round. That small fix, found by the students themselves, mattered more than the height. It showed them that a flop is not the end of a challenge. It is just useful information for the next try.
Choosing the Right Challenge for Your Class
| Challenge type | Typical time | Main materials | Best grade level |
|---|---|---|---|
| Build challenges | 20 to 40 minutes | Paper, cups, sticks, tape | Grades 1 to 5 |
| Science challenges | 15 to 30 minutes, plus observation days | Cups, water, soil, simple tools | Grades 2 to 5 |
| Math and design challenges | 20 to 45 minutes | Paper, rulers, blocks, tape | Grades 1 to 5 |
| Outdoor challenges | 20 to 30 minutes | Chalk, sticks, jars, bags | Grades 2 to 5 |
| Team challenges | 30 to 45 minutes | Mixed classroom supplies | Grades 3 to 5 |
Use this table as a starting point, not a strict rule. Younger students may need more time and fewer materials, while older students may want a harder goal, such as a taller tower or a stricter pattern rule. If a challenge finishes early, ask students to improve their design or try a new version with one material removed. If it runs long, stop for a quick share-out and finish testing the next day. The goal is steady progress and good talk about what worked, not a race to the end.
Frequently Asked Questions
How much time should I plan for a STEM challenge?
Plan about thirty minutes for most challenges, including setup, building, and a short share-out at the end. Shorter challenges fit well into a morning meeting or a Friday afternoon slot. Longer ones, like the seed growing or weather station, work best when students check in for a few minutes each day over one or two weeks.
What if I do not have many supplies?
Start with paper, tape, cups, and cardboard, since those four materials cover most of the challenges in this post. Ask families to send in clean recyclables like tubes, boxes, and jars. Keep a small supply bin in your classroom and refill it a little at a time, so you are ready when a good challenge moment comes up.
How do I group students for these challenges?
Groups of three or four work well for most elementary challenges. That size is small enough for every student to have a job, but large enough for real teamwork. Give each group a simple role, such as builder, measurer, or recorder, and rotate the roles so every student tries each job during the week.
What should I do when a design fails?
Treat the failure as part of the lesson, not as a mistake to hide. Ask what part broke first, what the group would change, and how much time they have for a second try. Students learn the most when they test, watch, and adjust, so leave time for at least one rebuild whenever you can.
How can I connect these challenges to my lessons?
Match the challenge to what you are already teaching. Use the floating and sinking test during a unit on materials, the shadow tracker during a unit on the sun, and the pattern block picture during a unit on patterns. A short writing task after the challenge, such as explaining what changed and why, turns hands-on work into clear learning evidence.
How do I assess a STEM challenge fairly?
Look for effort, teamwork, and thinking, not just the tallest tower or the fastest result. A simple checklist can track whether students planned first, tested their design, and explained one change they made. You can also ask students to draw or write about their design, which gives you a record of their thinking even if their build did not win.
Final Thoughts
Simple STEM challenges do not need a big budget or a special room. They need a clear goal, a few everyday materials, and time for students to test and talk. Start with one challenge that fits your class this week. Watch how students plan, how they handle a flop, and how they light up when a second try works. Then try another one next week, and let students start suggesting their own twists. Over time, those small moments add up to confident problem solvers who are not afraid to build, test, and try again.
