
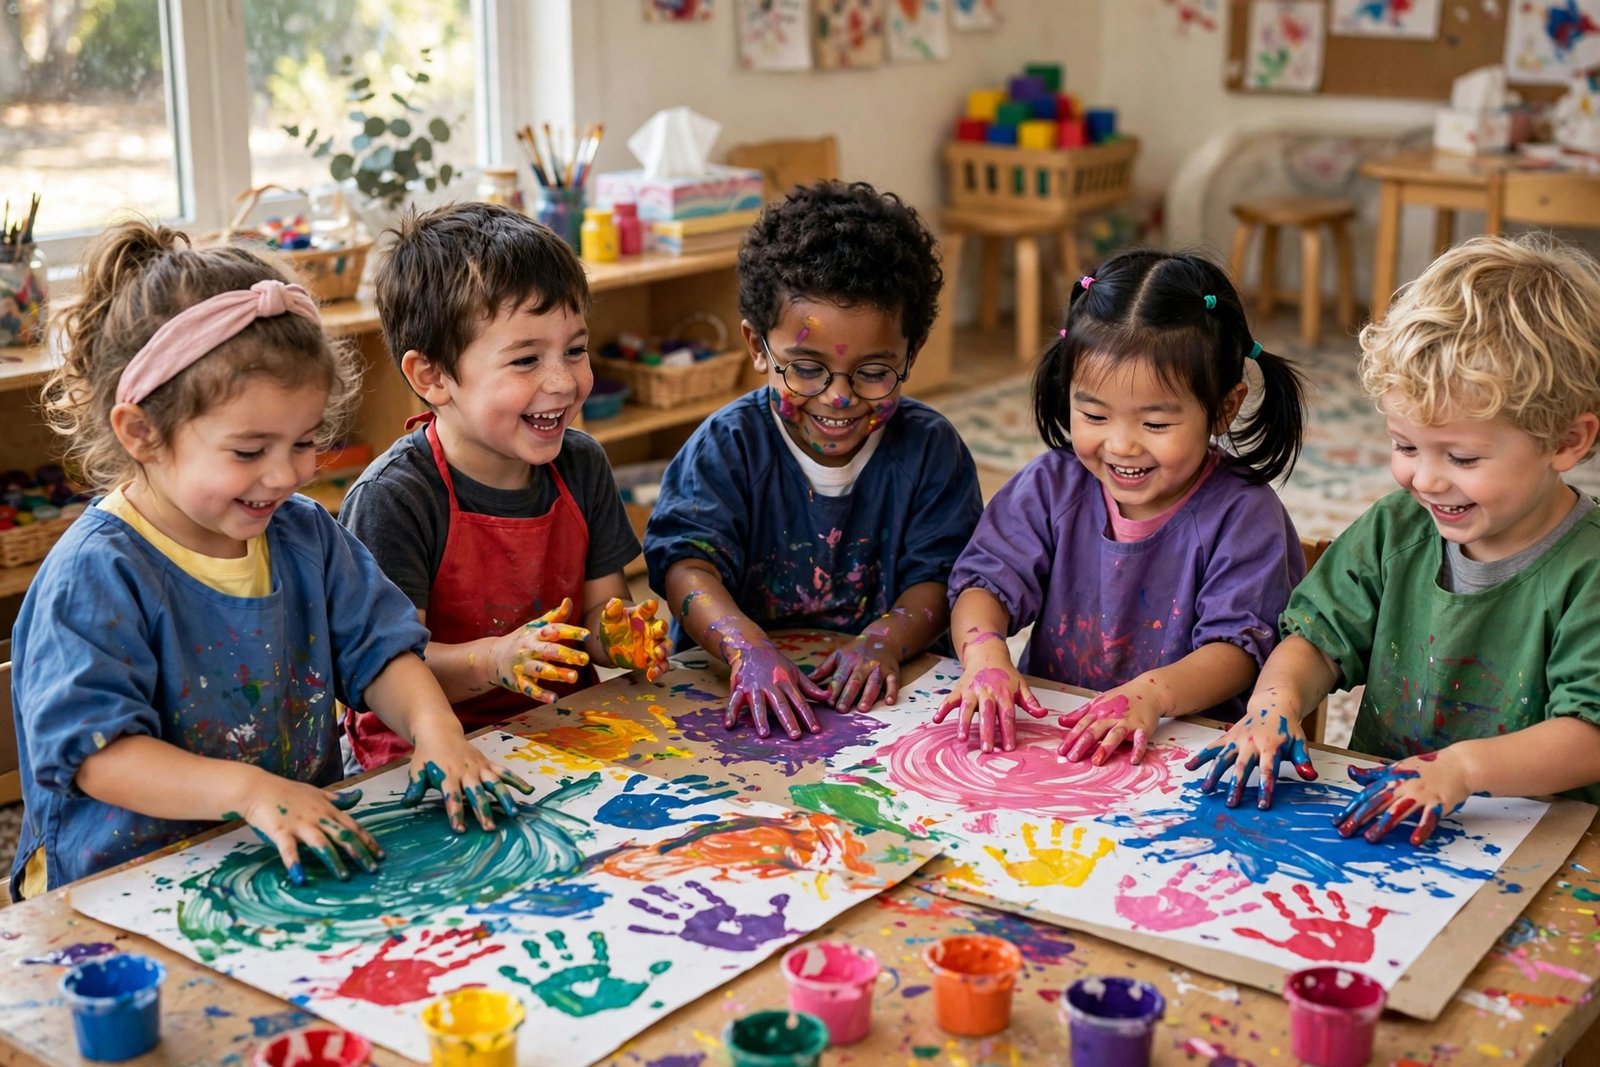

Here is what you need for a great finger painting week. Eighteen fresh project ideas you can run tomorrow with supplies you already own. A full materials breakdown so nothing is missing on Monday morning. A numbered setup list that keeps the mess contained. And honest tips from real classroom moments, including one that went a little sideways.
Table of Contents
What You Need
Paint options
- Washable tempera paint. your best bet for clothes, tables, and tiny hands. Pick a basic set of red, blue, yellow, green, orange, purple, brown, black, and white.
- Pudding paint. instant pudding mixed thick for toddlers who still put things in their mouths. Tastes bad, which discourages a second lick.
- Yogurt paint. plain yogurt with a drop of food coloring. Fine for babies and very young threes, but smells sour after an hour, so use it the same morning.
Paper choices
- Finger paint paper. glossy and non-porous, so colors stay bright instead of soaking in. Worth it for gift-worthy pieces.
- Cardstock or heavy construction paper. fine for everyday projects and holds up to wet little hands.
- Butcher paper or roll paper. perfect for covering a whole table for group murals.
Smocks and protection
- Art smocks or old adult T-shirts. one per child, worn backwards with the big neck hole in front. Laundered weekly, they last for years.
- Table covering. a plastic tablecloth or a cut-open trash bag under every project. Tape the edges down so little hands cannot pull it off.
Cleanup supplies
- Baby wipes and wet paper towels. one pack of wipes per table of six. Not optional.
- A basin of warm soapy water. one per table, with a dry towel beside it. Kids dip and wash before they touch anything else.
- A trash bag. open and waiting at the table edge for paper towels and ruined wipes.
Setting Up Your Painting Station
- Cover every table with a taped-down plastic cloth. If a table edge peeks out, it will get painted.
- Pour paint into muffin tins or ice cube trays, one tray per 4 children, so everyone can reach every color.
- Put one smock on each chair before children arrive. No smock, no paint.
- Place a basin of warm soapy water and a towel at the end of each table for the wash line.
- Tape each child's paper to the table with painter's tape. This stops the slide-and-crumple disaster.
- Keep wipes within arm's reach of every child, not just at your end.
- Do one quick demo hand wash yourself so children copy the exact motion.
- Have a drying rack or clothesline ready across the room, away from foot traffic.
What Finger Painting Teaches (More Than You Think)
Finger painting looks simple. It is not. When a three-year-old presses a paint-covered finger onto paper and watches a dot appear, that child is learning that their actions make marks on the world. That is a big deal at this age. They are also building fine motor strength in their fingers and hands, the same muscles that will hold a pencil next year.
Color mixing is the quiet star here. A child drags yellow into blue and makes green, and nobody had to explain it. They remember that discovery far longer than any chart. The squishy texture gives sensory input that calms fidgety hands, and the whole process rewards experimentation over perfection. There is no wrong way to finger paint, which makes it the one art activity where every child succeeds on the first try.
I tried the thumbprint caterpillar with my class last month and the results were exactly what I hoped for. Most of the caterpillars looked great, row after row of neat green ovals. One little boy pressed so hard his thumbprints slid into a green smear, and he looked up at me, horrified. I told him it was a sleepy caterpillar taking a nap, and he grinned and drew tiny legs on it anyway. His was the only one the whole class talked about at pickup time.
Animal Creations
1. Thumbprint Caterpillars
Press the pad of the thumb straight down in a curvy line across the paper, reloading with green paint each time, to make the round body. Add legs with a pinkie finger dragged downward on each side of the ovals. Draw or glue on wiggly eyes once the paint dries, plus a red smile. Tape the paper down first or the whole caterpillar slides sideways when they press. Cleanup is easy because thumbs wipe clean in one pass. Hang these in a wiggly row on the wall for instant spring cheer.
2. Palm Print Butterflies
Paint the whole palm in one bright color with a sponge brush, then press it onto the paper twice, once for each wing, leaving a gap in the middle for the body. While the wings are wet, dab finger dots in a second color on top for spots. Use a finger dipped in black paint to draw the body and antennae between the wings. This one uses a lot of paint, so pour small amounts and refill. The symmetry talk that follows is gold for math language.
3. Fingerprint Ladybugs
Make a big red oval by pressing all four fingertips together in a blob shape, or use the side of a fist for the body. Once dry, dip the pointer finger in black paint and dot the spots on the back, plus a black head at one end. Add tiny white dots in the black head for eyes after that dries. This is a great first project for young threes because it is only two steps. Wipes handle the red paint fast if you catch it before it dries on skin.
4. Fish Scales with One Finger
Paint a simple fish body shape ahead of time, or let older children do it freehand with a sponge. Then dip the index finger in blue or teal and press overlapping scale rows from tail to head, reloading every two presses. Let children pick a second color for a stripe down the middle. The repetition is calming and the finished fish looks impressive. Cover the fish outline with the scales only, and remind them that scales go on the body, not the eye.
Seasons and Nature
5. Cherry Blossom Trees
Paint a brown trunk with a sponge or the side of the hand, adding two or three branch strokes. Then dip fingertips in pink paint mixed with a drop of white and press clusters of blossoms along the branches, reloading often. A few light purple dots mixed in look like shadows and make the tree feel real. This one dries beautifully and frames well for Mother's Day gifts. Keep a damp rag nearby because pink paint travels to cheeks fast.
6. Sunflower Field
Paint each stem with a green finger drag from the bottom of the paper upward, slightly wobbly. For the flower head, press a circle of yellow fingerprints around a thumbprint center dipped in brown. Older children can add green leaves with a thumbprint on each side of the stem. Line them up across a long sheet of butcher paper and you have a field in twenty minutes. The brown centers take longest to dry, so these need overnight drying.
7. Autumn Leaf Rubbing Paint
Collect real leaves or cut leaf shapes from cardstock ahead of time. Lay a leaf under a sheet of thin white paper and have children press orange, red, and yellow paint over it with flat fingers, so the leaf shape shows through. The texture of real veins peeking through the paint is the best part. Peel the leaf out while the paint is wet and label whose leaf it was. This works beautifully for a fall bulletin board that actually looks like fall.
8. Snowy Handprint Trees
Paint a triangle tree with the side of the hand dragged downward in green, stacking three triangles for a tall pine. Once dry, dip fingertips in white paint and dot snow along the branch edges and a thick snow line at the base. A white thumbprint makes a fine snowball pile at the bottom. This is a December classic because it only uses two colors, which means fast setup and easy cleanup. Glitter glue on top is optional and wonderful.
9. Raindrop Prints
Paint a gray-blue background wash with flat hands across the whole sheet. Then dip the pointer finger in dark blue and press short vertical raindrop marks all over the sky. Add a yellow sun peeking from one corner with a handprint or finger circle for contrast. This is a perfect rainy-day project for the exact day it is raining outside. Talk about where rain comes from while they work and you have snuck in a science lesson.
Holiday and Celebration Art
10. Halloween Ghost Hands
Paint the whole hand white, press it palm-down, fingers together, and you have a ghost body with five little arms. While it is wet, dip a finger in black paint and dot two eyes and an open mouth. Add a purple or orange background wash first so the ghost pops. These are the fastest project on this list and the kids love seeing their own hand become something spooky. Do the background wash in the morning and the ghost hands after lunch so drying time works out.
11. Turkey Handprints
The classic for a reason. Paint the palm brown and press it down, fingers spread wide. Then paint each finger a different fall color (red, orange, yellow) and press again over the same handprint so the tail feathers show. Add a wiggly eye and a beak with orange finger dots once it is dry. Every family expects one of these and every child is proud of theirs. Send them home the Tuesday before the holiday so they arrive in time.
12. Christmas Tree Fingers
Paint a large green triangle with the side of the hand or a sponge. Decorate it by pressing fingertip dots in red, gold, and silver all over the tree as ornaments. A yellow thumbprint star goes right on top. Finish with a brown rectangle trunk painted by the side of a finger. This doubles as a card front if you fold the paper in half. Two colors of paint plus the trunk keeps this one calm enough for a December afternoon.
13. Firework Bursts
On black or dark blue paper, dip fingertips in bright red, yellow, and white paint and press outward from a center point, like the spokes of a wheel. Add smaller dots between the spokes for sparks. The dark background makes every color glow and the finished pieces look truly stunning on a hallway display. This works for the Fourth of July, New Year's, or any celebration week. Remind them to wipe fingers between colors or everything turns brown.
Sensory and Process Play
14. Swirl and Marble Mixing
Squirt three colors of paint in lines across the paper and let children swirl them with their whole hand, flat palm down, in slow circles. No picture required, just the joy of watching colors melt into each other. Ask them to stop at their favorite moment and name the new color they made. This is pure process art and it is the best calming activity in the whole list. Cover the entire table because this one gets enthusiastic.
15. Pudding Paint Tasting Art
Mix thick instant pudding with a drop of food coloring for a fully taste-safe paint. Spread it on a tray or directly on the table and let the youngest children swish, poke, and draw with their fingers. The texture is thick and cool, and the mild taste discourages a second lick better than any lecture. This is the one to use when a two-year-old joins the group. Wipe the table with warm water afterward and everything comes off in seconds.
16. Bubble Wrap Stomping Prints
Tape a sheet of bubble wrap to the floor, paint the bubbles with washable tempera, and lay paper on top. Let children step, stomp, or press with their hands to transfer the dotted pattern. Then finger paint details on top of the print, like turning the dots into a garden of flowers. The surprise of lifting the paper is the highlight. Shoes come off for this one, and a mop bucket stands by for footprints.
17. Fingerprint Alphabet Garden
Write large letters of the alphabet lightly in pencil across a big sheet. Children fill each letter with fingerprint dots in rainbow colors, one color per letter. By the end you have a garden of letter flowers the whole class made together. This is sneaky literacy work that feels like play. It takes a full session, so save it for a day with a long art block. Photograph the finished garden because it will not fit in a cubby.
18. Texture Stamping with Kitchen Tools
Set out potato mashers, forks, sponges, and crumpled plastic wrap beside the paint trays. Children press each tool into the paint and stamp it, then add finger-painted details on top, like turning masher circles into suns. The variety of textures in one piece is fascinating to small hands. Label each tool's print on a sample sheet so children can plan. Wash tools in the basin immediately after, before the paint dries in the crevices.
Frequently Asked Questions
Q. What is the best age to start finger painting?
A. Most children are ready around 18 months with close supervision and taste-safe paint like pudding paint. For a preschool classroom of threes to fives, regular washable tempera is perfect. The youngest children benefit most from process play like swirling and mixing, while fours and fives can handle the animal and holiday projects with their extra steps.
Q. How do you keep the mess under control?
A. The setup list above is the whole secret. Smocks on before paint comes out, taped-down table covers, a wash basin at every table, and wipes within reach. The single biggest mess-preventer is taping the paper down, because sliding paper causes paint to go everywhere. Also, pour small amounts of paint and refill. A full cup of paint always ends up somewhere surprising.
Q. Will washable paint actually wash out of clothes?
A. Usually yes, if you treat it quickly. Washable tempera is designed to rinse out of most fabrics with warm water before it sets. The smock rule exists for the times it does not, because red and blue can stain light fabrics if they sit overnight. Never use regular acrylic or craft paint for finger painting, since those are permanent once dry. When in doubt, dress for mess and send a note home about it.
Q. How long should a finger painting session last?
A. Twenty to thirty minutes is the sweet spot for threes and fours. Fives can stretch to forty minutes with a multi-step project like the fingerprint garden. Watch for the signs. When children start painting their arms instead of the paper, the creative part is over and it is cleanup time. It is always better to end while they still want more.
Q. Can finger painting work for children who hate messy hands?
A. Yes, and do not force it. Start these children with tools like sponges, cotton swabs, or the bubble wrap stamping project, which keep paint off their palms. Many hesitant children join in once they see friends having fun, often starting with just one fingertip. Keep wipes in their hand so they control the mess, and celebrate whatever level of touching they choose. Pressure ruins the experience for everyone.
Q. How do you dry and store 20 wet paintings?
A. A drying rack is the best investment for an art-heavy classroom, but a clothesline with clothespins across a corner works just as well. Leave finger paintings overnight because the thick paint takes hours, not minutes. Write each child's name on the back in pencil before painting starts, since wet paint eats marker ink. Once dry, they stack fine between sheets of newspaper.
Wrapping Up the Week
Eighteen ideas is a lot, and you do not need all of them at once. Pick the four that match your season, run one a day, and watch which ones your class begs to repeat. The thumbprint caterpillar and the firework bursts tend to be the most requested in my room, but every group has its own favorites. What matters is that the children got paint on their hands, made something of their own, and cleaned up like pros.
Keep the setup routine the same every time. When children know the smock rule and the wash line by heart, you spend your energy on the art instead of the crowd control. Save one favorite project for the end of the year to see how far those little fingers have come. You will be amazed at the difference between September's smears and May's careful caterpillars.
