
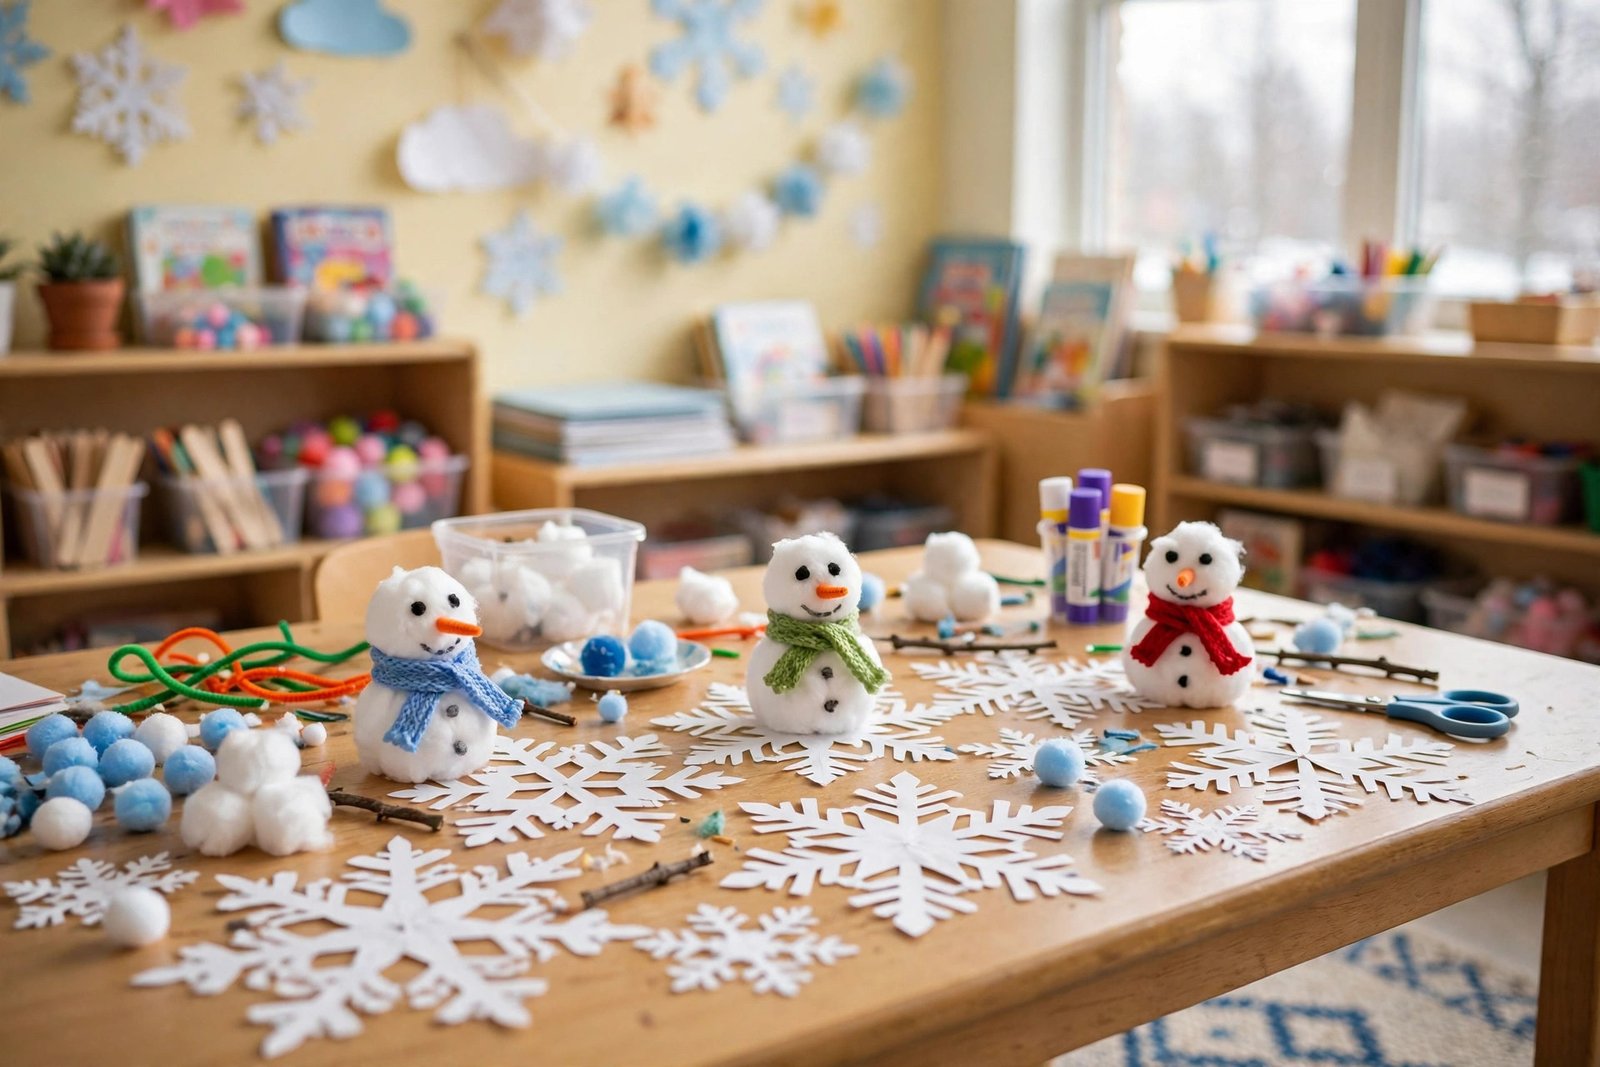

What do you do when cold weather keeps your class inside and little hands need something fun to make? Winter gives preschool teachers a gift. Snow, cozy clothes, and winter animals give kids pictures they already know and love. A craft built on those pictures feels easy to a three year old and still feels fresh to a four year old who has done it before. You do not need a craft store run or a long prep list to make it work. Paper, cotton balls, paint, and glue cover most of the ideas below.
These fifteen crafts are grouped so you can plan a whole winter week or pick one for a slow afternoon. The first group plays with snow and snowflakes. The second group builds winter animals that kids can name on sight. The third group makes cozy scenes and keepsakes that parents love to take home. Every craft uses cheap classroom supplies and steps a preschooler can follow with a little help. Scissors stay blunt tipped, glue stays in small cups, and small parts like buttons and beads stay in teacher hands until the gluing step. That way the fun stays safe and the mess stays small.
Winter crafts also build real skills while kids think they are only playing. Tearing paper strengthens small fingers. Dabbing paint on cotton balls teaches gentle pressure. Folding a paper snowflake shows how one fold changes a shape. Talk while kids work, name the colors and shapes out loud, and let each child describe what they made in one short sentence. The craft becomes a language lesson too, and it costs you nothing extra.
Pick the craft that fits the day you have, not the day you wish you had. A short craft works on a busy morning. A longer one fills a quiet afternoon after lunch. Keep one finished example on your desk so kids can see the goal, then let them make their own version. Their snowman may have three eyes and a crooked smile, and that is exactly right.
Table of Contents
Snow and Snowflake Crafts
Snow is the first thing kids think of when winter comes, so start there. These five crafts use white paper, cotton balls, and paint to build snowmen, snowflakes, and snowy scenes. The steps stay short, the supplies stay cheap, and the results look bright on a classroom wall. Let kids choose their own colors for scarves and hats so no two pieces look the same.
1. Cotton Ball Snowman
Give each child a sheet of blue paper and three white paper circles in small, medium, and large sizes. Kids glue the circles in a stack to build the snowman body, then press cotton balls onto each circle for a soft snowy look. Add a paper carrot nose, two black dot eyes, and a strip of colored paper for a scarf. A cotton ball snowman teaches size order because kids place the large circle at the bottom and the small one on top. Keep glue in small cups with craft sticks for spreading so little hands stay clean.
2. Fold and Cut Paper Snowflakes
Pre fold white paper into triangles so each child starts with the same shape. Show kids how to snip small triangles and curves from the folded edges with blunt tipped scissors, then open the paper slowly to reveal the snowflake. No two snowflakes come out alike, and that surprise is the best part of the craft. Paper snowflake cutting builds scissor control in short safe snips that even new cutters can manage. Glue the finished flakes on dark blue paper so the white shapes stand out, and hang them near a window.
3. Bottle Cap Snowflake Stamps
Pour a little white paint into a shallow tray and set out bottle caps in two sizes. Kids dip a cap in the paint and press it on dark blue paper, then press around it to build a snowflake shape with six round arms. A small brush adds a center dot and a few tiny lines between the arms. Bottle cap stamps make snowflake art easy for very young hands because stamping needs no cutting and no careful drawing. Let the papers dry flat, then sprinkle a pinch of glitter on the wet paint if you want a frosty shine.
4. Paper Plate Snow Globe
Cut the center from a paper plate so only the rim is left, and glue a clear piece of plastic wrap across the back of the rim. Kids glue a small paper house or tree inside the circle, add cotton ball snow, and stick on a few paper snowflakes. Flip the plate over and the wrap keeps everything safe inside like a real snow globe. A paper plate snow globe gives kids a tiny winter world they can hold up and show their friends. Tape the edges well so the wrap stays tight, and let kids shake it gently.
5. Snowy Footprint Art
Paint the bottom of one foot with white paint and press it onto dark blue paper to make a snowy hill shape. Once the paint dries, kids add a paper snowman on top of the hill and draw falling snow with a white crayon. The footprint stays hidden under the scene, so the art looks like a quiet winter night. Snowy footprint art turns a print into a keepsake that parents love to save. Wash feet right after printing, and keep a towel and a small tub of warm water nearby for quick cleanup.
| Craft | Time Needed | Supplies | Best For |
|---|---|---|---|
| Cotton Ball Snowman | 20 to 25 minutes | Blue paper, white circles, cotton balls, glue | Art time and size order |
| Fold and Cut Paper Snowflakes | 15 to 20 minutes | White paper, blunt scissors, dark paper | Scissor practice and windows |
| Bottle Cap Snowflake Stamps | 15 minutes | Bottle caps, white paint, dark paper | Very young kids and messy play |
| Paper Plate Penguin | 20 to 25 minutes | Paper plates, black and white paper, glue | Animal study and bulletin boards |
| Handprint Reindeer | 15 minutes | Brown paint, paper, googly eyes, red pom pom | Keepsakes and holiday cards |
| Paper Strip Hot Cocoa Mug | 20 minutes | Colored paper strips, glue, cotton balls | Quiet art and winter gifts |
| Snowy Village Collage | 30 minutes | Paper scraps, glue, cotton balls, crayons | Group work and display walls |
Winter Animals
Winter animals give kids a reason to talk about how animals stay warm and where they live when it gets cold. These five crafts use paper plates, handprints, and tissue paper to build penguins, bears, owls, reindeer, and cardinals. Each animal has one clear feature kids can spot, like a penguin belly or a reindeer nose, so the craft doubles as a simple animal lesson.
6. Paper Plate Penguin
Paint a paper plate black, let it dry, then glue a white paper oval in the center for the belly. Add two black paper wings on the sides, an orange triangle beak, and two white circles with black dots for eyes. Kids can glue cotton balls at the bottom for snow and a small paper fish for the penguin to hold. A paper plate penguin teaches body parts in a fun way because kids place the belly, wings, beak, and eyes in the right spots. Stand the finished penguins on a shelf so the class has a colony.
7. Cotton Ball Polar Bear
Draw a big bear face on white paper with a round head and two round ears. Kids spread glue inside the outline and press cotton balls close together until the face is soft and full. Add a black paper nose, two dark eyes, and a small smile in black crayon. A cotton ball polar bear shows kids how soft fur can look on paper, and it feels nice to touch when it is done. Keep cotton balls in a basket on the table so kids can reach them without crowding, and use glue sticks for kids who dislike sticky fingers.
8. Paper Bag Snowy Owl
Give each child a small brown paper bag and fold the top corners down to make pointed ears. Kids glue on two large white eye circles with black centers, an orange beak, and a few white paper feathers on the belly. A white handprint on each side makes wings, and a few dots of white paint look like falling snow. A paper bag snowy owl becomes a puppet when the craft is done because kids can slip a hand inside and make it hoot. Let the owls sit on the reading corner shelf, and pull one out during story time.
9. Handprint Reindeer
Paint each child's palm and fingers brown and press the hand onto paper with the fingers pointing up to make antlers. Once the print dries, kids glue on a red pom pom for the nose, two googly eyes, and a small paper smile. A strip of green paper at the bottom makes grass or a holiday card border. A handprint reindeer keeps a record of small hands that parents treasure long after the school year ends. Wipe hands with a damp cloth right after printing, and write the child name and year on the back of each one.
10. Tissue Paper Cardinal
Draw a simple bird shape and show kids how a cardinal has a red body, a pointed crest, and a black face mask. Kids tear red tissue paper into small pieces and glue them inside the bird outline, then add the black mask and an orange beak. A brown paper branch across the bottom and a few cotton ball snow dots finish the scene. A tissue paper cardinal adds bright winter color to a gray season, and tearing paper is great practice for small fingers. Display the cardinals in a row to make a winter branch full of birds.
Cozy Winter Scenes and Keepsakes
The last group slows things down and makes pieces kids can gift or keep. Cabins, mittens, night skies, cocoa mugs, and village scenes use paper strips, handprints, and sponge paint to build warm winter pictures. These crafts work well in December when families visit the classroom, and they look lovely on a fridge at home. Give kids time to choose their own colors so each piece feels personal.
11. Popsicle Stick Winter Cabin
Lay five popsicle sticks side by side to make a cabin wall and glue a cross stick on the back to hold them together. Add two sticks slanted across the top for a roof and a small paper door and window. Kids dab white paint on the roof edge and door to look like snow, then glue a cotton ball chimney puff on top. A popsicle stick cabin teaches building in small steps because each stick has one clear place to go. Glue the pieces with white craft glue and let them dry flat overnight so the cabin stays strong.
12. Handprint Mitten Keepsake
Trace each child's hand on colored paper, cut out the shape, then glue it onto a larger mitten shape cut from a second color. Kids decorate the cuff with paper strips, stickers, and a small heart, then add a loop of yarn at the top for hanging. Write the child name and year on the cuff in a dark marker so the keepsake is easy to date later. A handprint mitten keepsake turns a simple trace into a gift that grandparents love. Cut the mitten shapes ahead of time for younger kids, and let older preschoolers help with safe scissors.
I tried this in my class last month, and here is what happened. I set out the mitten keepsakes on a rainy afternoon and one boy glued his handprint upside down, so the fingers pointed at the cuff instead of the top. I almost fixed it for him, then I stopped and asked if he liked it that way. He said it was a mitten for a snowman with a silly hand, and he laughed all the way through decorating it. His mom told me later it was still on their fridge. The flop became the favorite piece in the class, and now I let the upside down hands stay.
13. Winter Night Sky Painting
Give each child dark blue paper and a sponge cut into a star shape. Kids dip the sponge in white and yellow paint and stamp stars across the sky, then paint a big yellow moon. A few strokes of white paint at the bottom make snowy hills, and a small paper house with a lit window sits on top of the snow. A winter night sky painting lets kids stamp instead of draw which keeps the shapes simple and the results pretty. Cover tables with old newspaper first, and keep one sponge per color so the paints stay clean.
14. Paper Strip Hot Cocoa Mug
Cut a large mug shape from red or green paper and glue a handle on one side. Kids weave short paper strips in two colors across the mug to make stripes, then glue cotton balls on top for marshmallows and a wavy paper strip for steam. A small heart or star sticker on the front finishes the mug. A paper strip cocoa mug builds weaving skills because kids push strips over and under in a simple pattern. Pre cut the strips for three year olds and let four year olds try cutting their own with blunt scissors.
15. Snowy Village Collage
Set out a long sheet of light blue paper and a basket of paper scraps in many colors. Kids glue small houses, trees, and snowmen across the paper to build a village, then add cotton ball snow on the roofs and a yellow sun or moon in the sky. Each child adds one building, so the village grows as the class works. A snowy village collage works as a whole class project because every child can see their own house in the finished picture. Hang the village at child eye level, and let kids point out their house to visitors.
Frequently Asked Questions
What supplies should I keep on hand for winter crafts?
Keep paper in white, blue, black, and red, cotton balls, child safe glue, blunt tipped scissors, and washable paint in white, blue, and yellow. Add paper plates, popsicle sticks, tissue paper, and pom poms, and you can run almost every craft in this list. Buy the basics once in a big pack, and refill only what runs out. A small basket of extras like stickers and yarn covers the finishing touches.
How long should a winter craft take with preschoolers?
Most of these crafts take fifteen to twenty five minutes from start to finish, which fits a normal preschool attention span. Short crafts like stamping and handprints work well before lunch, while longer ones like the village collage can stretch across two days. If kids start to drift, stop at a natural step and finish the rest the next day. A calm ending beats a rushed craft every time.
What if a child does not want to use glue or paint?
Let the child watch first, then offer a dry job like tearing paper, sorting cotton balls, or choosing colors for a friend. Some kids dislike sticky hands, and forcing the messy step only makes the next craft harder. Give the child a glue stick instead of liquid glue, or let them point while you spread the glue for them. Most kids join in once they see the fun and feel safe.
How do I keep scissors safe with three year olds?
Use blunt tipped child scissors only, and teach one rule at a time, such as scissors point down and away from hands. Cut paper for the youngest kids yourself, and let them practice snipping scrap paper before they cut a real shape. Sit close during the cutting step, and collect the scissors as soon as the step ends. Short supervised practice builds safe habits faster than long warnings.
Can these crafts work for a mixed age classroom?
Yes, most of these crafts scale up or down with one small change. Three year olds can tear, stamp, and press handprints while four year olds cut, weave, and add details. Pair a younger child with an older buddy for steps like gluing small parts, and pre cut the hard shapes for the whole table. The finished pieces still look different for each child, which is the point of a craft.
How can I display winter crafts without a big bulletin board?
Hang a string across a wall with clothespins and clip the crafts in a row at child eye level. Tape paper snowflakes to windows, stand paper plate animals on a shelf, and lay flat pieces on a low table near the door. A simple clothesline display takes five minutes to set up and lets parents see the work at pickup time. Rotate the pieces each week so every child gets a turn in the spotlight.
Final Thoughts
Winter crafts work best when they stay simple, warm, and a little bit messy. You do not need fancy kits or long prep nights to give preschoolers a craft they will remember. Paper, cotton balls, paint, and glue can turn a cold afternoon into a snowman, a penguin, or a mitten that goes home on the fridge. Start with one craft from this list, the one that fits the supplies you already have. Watch which kids dive in and which ones need a gentler start, then adjust the next craft based on what you saw. Over the season those small moments add up into a classroom that feels cozy, creative, and full of winter color, and your students will carry that feeling with them long after the snow melts.
