
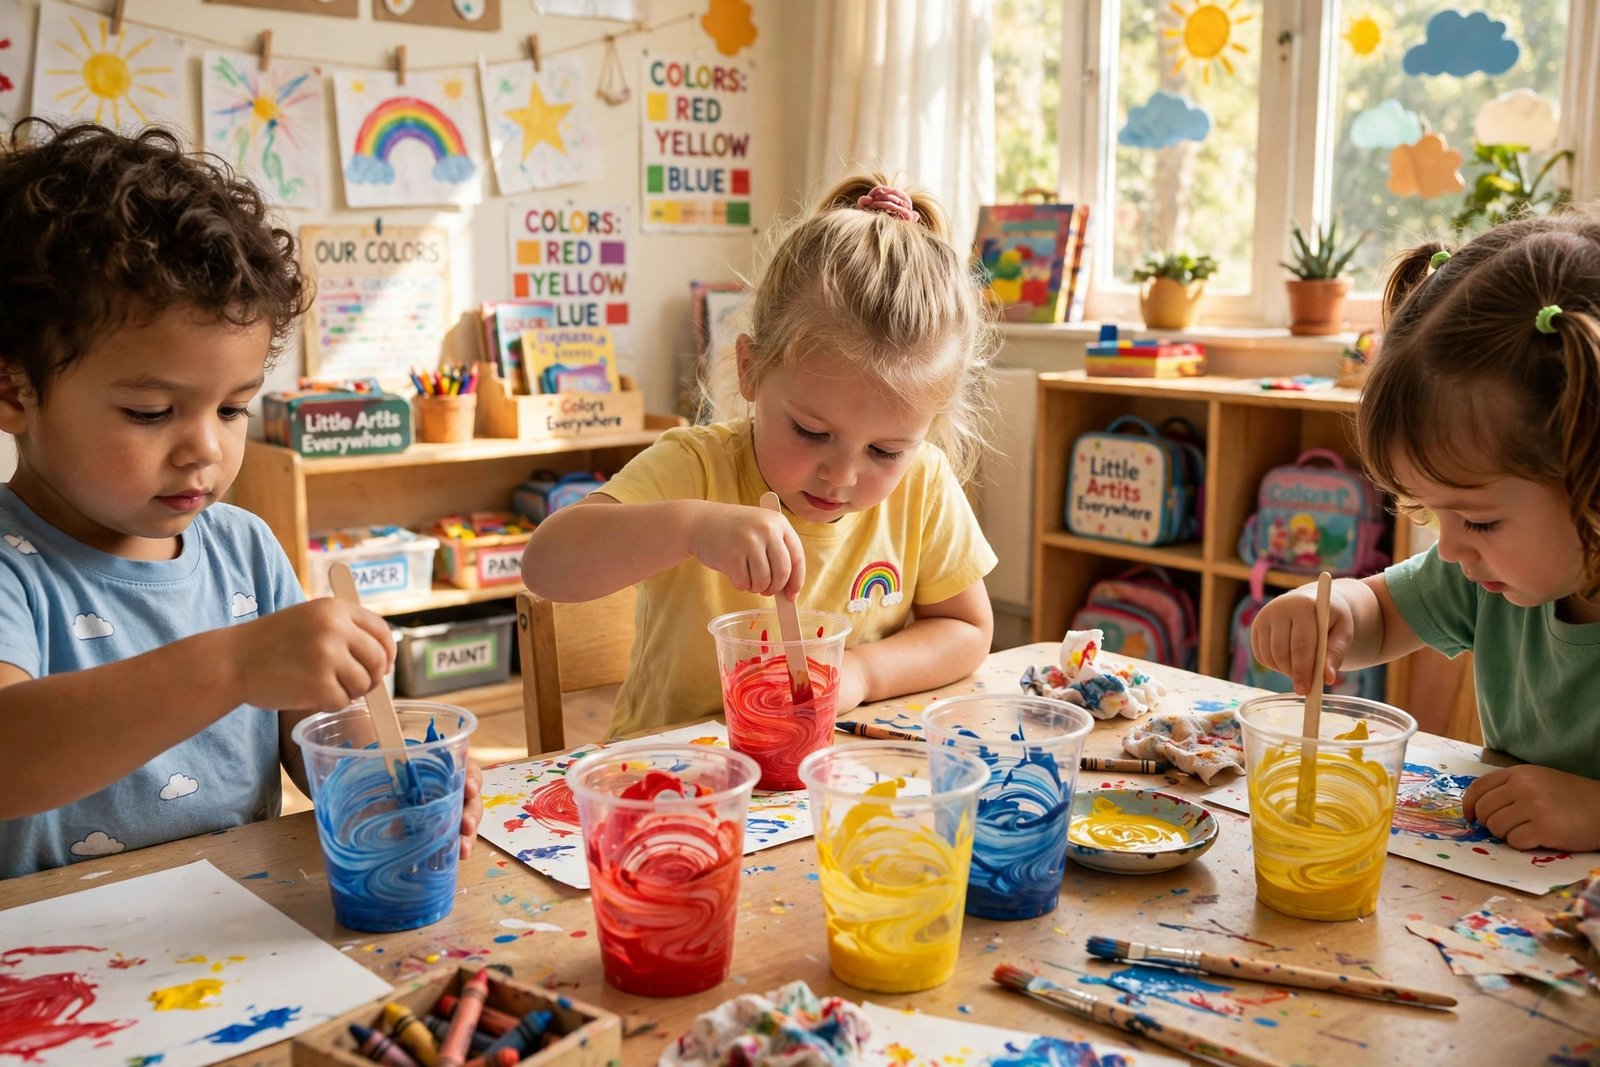

What happens when blue meets yellow in the hands of a three year old? Does the child see green right away, or does the color change slowly while small fingers stir, pour, and press?
Color mixing is one of the first science moments a preschool child can truly own. There is no right answer to memorize and no worksheet to finish. A child pours, stirs, and watches, and the color answers back. That is why mixing activities work so well in a preschool room. They are simple to set up, they use cheap materials, and they hold the attention of three and four year olds for a long time. This list gives you fifteen activities that work in a real classroom, with real time limits and real cleanup. Pick one for a quiet morning, or build a whole color week around the full list.
Table of Contents
Materials and Setup
Most color mixing activities use the same small set of supplies, so gather one box and reuse it all week. Keep washable paints in red, blue, and yellow, plus food coloring in the same three colors. Add clear cups, jars, spoons, trays, and a stack of paper towels. A few sealable bags, some shaving cream, and a bag of flour will cover the sensory activities. Lay newspaper or a plastic cloth on every table before you start, and put paint shirts on the children. Mixing is always a little messy, and a calm setup keeps the fun going.
Set up one mixing tray per table, not one per child, so children can watch each other and share ideas. Keep a small chart on the wall where children can stick a colored dot next to the colors they mixed. This gives the class a shared record to look at during circle time. Keep water nearby for rinsing hands and cups, and keep a bin for wet paper. When the activity ends, let children help wipe the tables, because cleanup is part of the lesson too.
Color Mixing Comparison
Use this quick guide to pick the right activity for your day. Some activities are calm and tidy, and some are gloriously messy. Mess level is a rough guide for a class of twenty children with one adult helping. Low means the table stays mostly clean. High means you will want smocks and newspaper on the table.
| Activity | Mess Level | Best Age | What You Need |
|---|---|---|---|
| Two Color Water Jars | Low | 3 to 5 | Clear jars, food color, cups, spoons |
| Ice Cube Color Mixing | Medium | 3 to 5 | Ice cube trays, food color, paper |
| Paint in a Bag | Low | 3 to 4 | Sealable bags, washable paint, tape |
| Watercolor Drop Art | Medium | 4 to 5 | Coffee filters, droppers, watery paint |
| Finger Paint Color Blends | High | 3 to 5 | Finger paint, thick paper, smocks |
| Shaving Cream Swirls | High | 3 to 5 | Shaving cream, food color, trays |
| Colored Playdough Mixing | Low | 3 to 5 | Playdough in two colors |
| Milk and Food Color Swirls | Medium | 4 to 5 | Milk, food color, cotton swabs, soap |
Water and Paint Mixing
Water and paint are the friendliest starting point for color mixing with young children. The materials are cheap, the results show up fast, and mistakes are simple to fix with one more cup of water. The five activities in this section all teach the same gentle idea. Two colors can meet and make a brand new color. Keep spare cups nearby, because some children will want to mix a second and third color the moment the first one is done.
1. Two Color Water Jars
Fill two jars with water and add a few drops of blue food color to one jar and a few drops of yellow food color to the other jar. Set a third empty jar beside them and give each child a small cup. Let the children pour a little blue water and a little yellow water into the empty jar and stir it with a spoon. The water turns green before their eyes. Ask the children to guess the new color before they stir, and let them try red and yellow next. Keep towels nearby, because little pours often spill.
2. Ice Cube Color Mixing
Freeze water with a few drops of food color in an ice cube tray the night before, using a different color in each row. Set out a sheet of thick white paper for each child and place one blue cube and one yellow cube on the paper. Let the children watch the cubes melt and slide into each other, leaving trails of green behind them. Give them a spoon to nudge the cubes together if they are impatient. This activity is slow and calm, so it suits a quiet morning, and the finished paper makes a lovely display.
3. Paint in a Bag
Squeeze two small blobs of washable paint into a sealable bag, using two different colors for each child. Press the air out gently and seal the bag, then tape the edges to the table so the bag stays flat. Let children press, squish, and push the paint around with their fingers and palms. The colors blend slowly through the plastic, and the child can see the new color grow. This activity suits children who do not like messy hands, and it works well as a calm table for free choice time.
4. Watercolor Drop Art
Lay a coffee filter or a paper towel flat on a tray and give each child a dropper and two small cups of thin watery paint. Show them how to squeeze the dropper, dip it in the paint, and let one drop fall onto the paper. The color spreads in a soft circle, and a second drop in a new color bleeds into the first one. Encourage children to count their drops and to watch the edges where the colors meet. Let the filters dry flat, then hang them in the window to show off the new shades.
5. Finger Paint Color Blends
Put two small blobs of finger paint on a sheet of paper, one red and one yellow, placed a few inches apart. Let children press their hands into the paint and slide them together slowly, so the colors meet in the middle. The orange that appears is bright and warm, and children love seeing it grow under their own hands. Give each child a damp cloth for wiping hands between colors, and keep a stack of spare paper close. This is the messiest activity in the list, so save it for a day when you have time to clean up.
Hands On Sensory Mixing
Sensory mixing lets children learn with their whole bodies, not just their eyes. They press, knead, scoop, and squish, and the colors change under their hands. These five activities suit children who like to touch everything first and ask questions later. Set them up on trays, because the materials travel fast. Keep a damp cloth at each table, and let children wash their hands as often as they like.
I tried the shaving cream swirls with my class last month, and the first table went too fast. I had put out too much food color, so every tray turned brown within a minute. The children still loved it, but the colors were gone. The next day I gave each child only two drops, and the swirls stayed bright for the whole activity. Small amounts make all the difference.
6. Shaving Cream Swirls
Spray a thick layer of plain white shaving cream onto a tray and smooth it flat with a spoon. Add two drops of food color in two spots, then give each child a craft stick or a plastic fork. Let them drag the stick through the cream in slow swirls and watch the colors twist together. Press a sheet of paper gently onto the cream, lift it off, and scrape away the extra cream to reveal a marbled print. Wipe the tray clean and start again, because children always ask for one more turn.
7. Colored Playdough Mixing
Give each child two small balls of playdough in different colors, such as blue and yellow. Let them roll the balls together, flatten them, fold them, and roll them again. The colors stripe first, then swirl, then slowly turn into one new color. Ask the children to stop and look after each fold, so they can see the change happen step by step. This activity builds hand strength and patience at the same time. Store the mixed dough in a labeled tub, because children love to show their new color to the next group.
8. Sensory Bin Color Scoops
Fill a shallow bin with water tinted blue and set out cups, scoops, funnels, and a few clear bottles. Let children scoop and pour the water from cup to cup, then add a few drops of yellow food color to one cup and watch it turn green. The pouring and scooping keep small hands busy for a long time, and the color change is a happy surprise in the middle of the play. Keep towels under the bin, and change the water when it gets cloudy. This bin works well outside on a warm day too.
9. Bubble Foam Mixing
Mix a little dish soap with water in a bowl and whisk it into thick foam, then spoon the foam into two cups. Add a few drops of red food color to one cup and a few drops of yellow food color to the other cup, and stir gently. Let children scoop the foam onto a tray and press the two colors together with their hands. The foam is soft and light, and the colors blend into a warm orange. Keep a towel nearby, because the foam sticks to sleeves. Rinse hands with plain water when the play ends.
10. Slime Color Swirls
Make a batch of slime from glue and a slime activator, or use a ready made slime base if your school allows it. Split the slime into two parts and tint one part blue and the other part yellow with a drop of food color each. Give each child a small piece of each color and let them stretch, fold, and press the pieces together. The colors swirl slowly, and the new green shows up in ribbons before it blends fully. Keep the slime in a sealed tub between uses, and remind children that slime is for hands, not hair.
Mixing in Nature and Play
Nature gives children colors that no paint bottle can match. Petals, leaves, berries, and mud all carry their own shades, and mixing them feels like a small adventure. These three activities work best outside or near a window, where children can gather their own materials. Keep a collection basket in the classroom for petals and leaves, and let children add to it over the week.
11. Flower Petal Color Water
Collect fallen petals in pink, purple, and yellow from the garden or a park, and set out a few clear jars half filled with water. Let children drop the petals into the jars and stir gently with a spoon. The water slowly takes on a soft tint, and the petals look lovely floating in the jar. Encourage children to try one color at a time first, then mix two jars together and watch the tint change. Label each jar with the petal color, and leave them on the windowsill for the day.
12. Leaf and Berry Paint
Gather soft green leaves and a few dark berries, and crush them gently in small bowls with the back of a spoon. Add a spoonful of water to each bowl and stir, then let children dip a brush or a cotton bud into the juice and paint on thick paper. The leaf juice gives a soft green, and the berry juice gives a deep purple. Let children paint side by side on one big sheet, so the colors meet and blend on the paper. Wash hands well after this activity, and only use plants you know are safe.
13. Mud Kitchen Color Mixing
Set up a mud kitchen outside with old pots, spoons, cups, and a bucket of soil. Let children add water to the soil and stir it into thick mud, then mix in petals, grass, and a few drops of food color. The mud turns shades of brown, pink, and green as the children stir, and they can pour their mixtures into cups like soup. This is joyful messy play, so dress the children in old clothes and keep a hose or a bucket of clean water nearby. The cleanup is part of the fun.
Simple Science Style Mixing
These last two activities feel a little like science, but they stay simple enough for preschool hands. Children watch a color move, fizz, or spread, and they get to guess what will happen next. Keep the steps short, and let the children do the pouring and stirring themselves. The wonder comes from watching, not from a long talk at the start.
14. Milk and Food Color Swirls
Pour a thin layer of milk into a shallow dish and let it settle until the surface is still. Add one drop of food color in red, one in blue, and one in yellow, spaced apart on the milk. Dip a cotton swab in a little dish soap, then touch the swab gently to the center of the milk. The colors burst outward in swirls, and the children will gasp. Let each child take a turn with a fresh swab, and talk about the new colors that appear where the drops meet.
15. Baking Soda Fizz Colors
Spoon a little baking soda into three small cups and tint each cup with a different food color, using just a drop or two. Set the cups on a tray and give each child a small cup of vinegar and a spoon. Let them pour a little vinegar into one cup and watch it fizz and bubble, then try a second cup. The colors foam up and spill over the tray in bright streams. Keep the tray inside a bigger tray, because the fizz travels fast. Children will ask to do this one again and again.
How to Run a Color Mixing Station
A color mixing station lets a small group of children explore on their own while you watch and guide. Pick a table near the sink, cover it with a plastic cloth, and set out only three colors at a time. Start with red, blue, and yellow, because those three mix into every other color in this list. Place the materials in the middle of the table so every child can reach them, and put a stack of paper towels at each end.
- Set out one tray, three small cups of color, and one empty cup for mixing.
- Show the children how to pour a little of one color into the empty cup.
- Let each child add a second color and stir it with a spoon.
- Ask the child to name the new color before they pour it out.
- Give each child a sheet of paper to record the new color with a crayon.
- Rinse the cups and start again with a new pair of colors.
Rotate the group every fifteen minutes, and keep a fresh tray ready for the next group. The station works best with four children at a time, so everyone gets a turn to pour and stir. When the station closes, let the children help wipe the table and stack the trays. A tidy station invites the next group to play.
Frequently Asked Questions
How long does each activity take
Most activities in this list take between twenty and forty minutes, including cleanup. Water and ice activities take longer because the color changes slowly, while paint in a bag and playdough mixing fit into a short art block. If you only have fifteen minutes, pick a low mess activity like the two color water jars, and save the shaving cream swirls for a longer session.
What ages work best for color mixing
Three and four year olds get the most from these activities, and five year olds enjoy the science style ones like milk swirls and baking soda fizz. Younger children do best with big cups, chunky spoons, and simple pouring, while older children enjoy guessing the new color before they mix. The comparison table near the start of this list shows which activities suit each age. Set out the same activity with two levels of help, and let each child work at their own pace.
How do I keep the mess under control
Cover every table with newspaper or a plastic cloth, and put paint shirts on the children before you start. Use trays to catch spills, and set out only a small amount of paint or food color at a time. Keep a stack of paper towels and a bin for wet paper within reach of every table. When the activity ends, let the children help wipe the tables, because cleanup is part of the lesson and it teaches care for shared materials.
What if a child does not want to touch paint
Offer the child a spoon, a dropper, or a brush, so they can mix without putting their hands in the paint. Paint in a bag is a good first step, because the child can press and squish the colors through the plastic. Never push a child to touch a material they dislike. Sit beside them for the tricky steps, and let them watch a friend mix first, because the goal is a happy art time, not a perfect result.
Can I use these activities outside
Yes, and many of them work even better outside. Water jars, sensory bins, and the mud kitchen all suit a garden or a playground, where spills do not matter. Tape the paper to a table or a fence so it does not blow away, and keep the food color in a small box so it does not spill in the sun. On a hot day, the ice cube activity melts faster, so it makes a lovely outdoor choice.
How do I talk about colors without teaching wrong ideas
Keep your words simple and honest, and describe only what the children can see. Say the colors mixed and made green, rather than giving a long talk about color theory. Let the children guess the new color before they stir, and praise the guess even when it is wrong, because guessing is part of learning. If a mix turns brown or gray, say so plainly, because that is a real result too.
Final Thoughts
Color mixing works so well in preschool because it is simple on the surface and rich underneath. Children practice pouring, stirring, pressing, and guessing, and they do it while making something they care about. They learn that blue and yellow make green, they see colors blend in water and paint, and they tell stories about what they mixed. Start with one activity from this list, and see how your class responds. If the table is quiet and focused, try a sensory activity next time. If the room is full of energy, take the water jars outside and let them pour. Keep the finished papers on display for a few days, then send them home with pride.
