
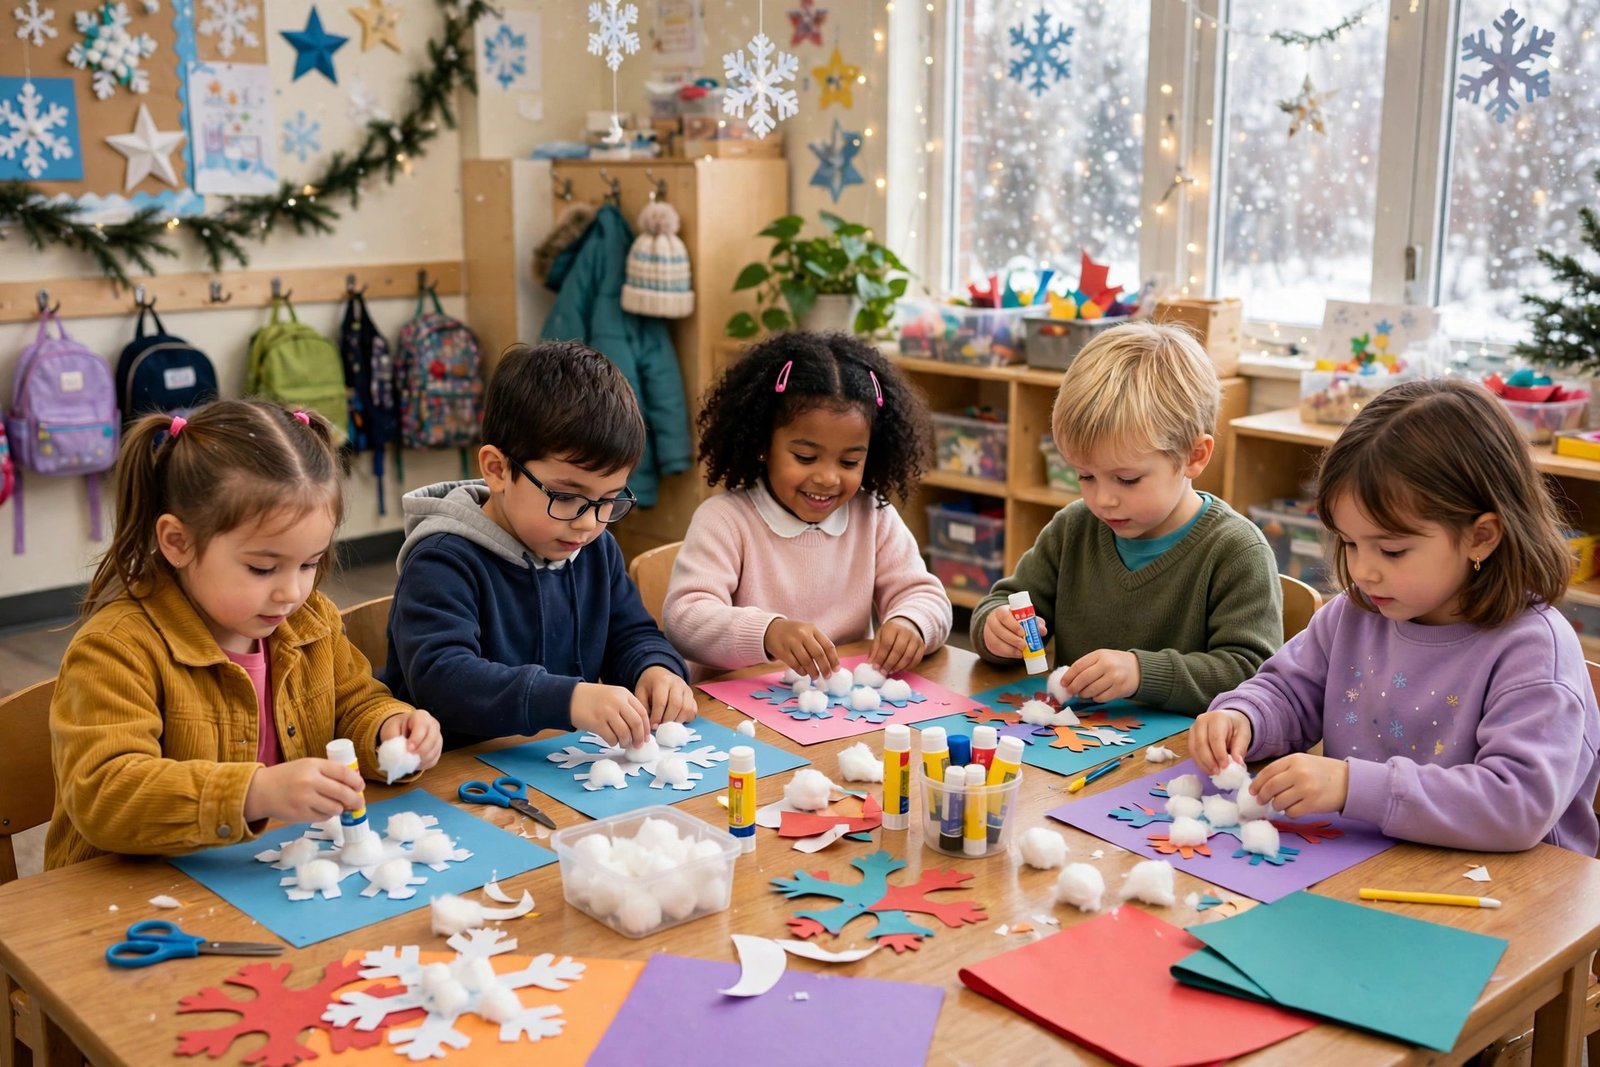

Last December, a little boy in my class held up his cotton ball snowman with both hands and beamed at me like he had just built a real snowman in the yard. One cotton ball was already sliding off the side, and the paper plate was bent from too much glue, but he did not care at all. He had pressed each cotton ball down himself, one by one, and he had drawn the carrot nose with an orange crayon that was almost too short to hold. When the snowman tipped over on the drying rack, he laughed and said it was sleeping. That is the kind of winter craft day I love in kindergarten. It is messy, it is joyful, and it is full of small proud moments that matter more than a perfect finished piece. The crafts in this post are made for that kind of day. They use simple supplies, short steps, and plenty of room for little hands to make their own choices.
Table of Contents
Winter can feel long in a kindergarten classroom, and a good craft gives the day a warm center. The ideas below are grouped so you can pick one group for a morning, or mix and match across a whole week. Some are quick and calm, and some are gloriously messy, so you can match the craft to your energy and your time. You do not need fancy supplies for any of them. Most use paper, glue, cotton balls, paint, and things you already have in your cupboard. Keep a few extra smocks nearby, put newspaper down first, and let the children enjoy the process as much as the result.
| Craft | Materials You Need | Mess Level | Time |
|---|---|---|---|
| Cotton Ball Snowman | Paper plate, cotton balls, glue, crayon | Medium | 20 minutes |
| Paper Snowflake | White paper, child safe scissors | Low | 15 minutes |
| Penguin Handprint | Black and white paint, paper, orange paper | Medium | 20 minutes |
| Pinecone Snowy Owl | Pinecone, cotton balls, paper, glue | Low | 15 minutes |
| Snowy Handprint Tree | Green and white paint, paper | Medium | 20 minutes |
| Paper Plate Reindeer | Paper plate, brown paint, pipe cleaners | Medium | 25 minutes |
| Salt Dough Ornament | Flour, salt, water, paint, ribbon | Medium | 30 minutes |
| Snow Globe Card | Card, clear plastic, glitter, paper | Medium | 25 minutes |
Snow and Snowmen Crafts
Snow is the first thing most kindergarten children think of when winter arrives, and these crafts let them build that magic indoors. The steps are short, the materials are forgiving, and every child can finish with something that looks like winter, even if no two pieces look the same. Keep the glue bottles small, give each child a paper towel for sticky fingers, and praise the trying as much as the result.
1. Cotton Ball Snowman
Give each child a paper plate and a small pile of cotton balls. Let them spread glue across the plate with a craft stick and press the cotton balls down in a thick layer. Add a second smaller paper plate on top for the head, or draw a face right on the cotton with crayons. Use black paper dots for eyes, an orange triangle for a nose, and a strip of colored paper for a scarf. The trick is to use just enough glue to hold the cotton without soaking the plate. Let it dry flat so nothing slides off.
2. Paper Plate Snow Globe
Cut a circle from white card and glue it to the center of a paper plate to make the snow scene. Children can draw a small snowman, a tree, or a house on the circle with crayons. Add torn bits of white tissue paper for snow on the ground and a few silver star stickers in the sky. Glue a strip of blue paper across the bottom for a snowy hill. When the glue dries, the plate becomes a round snowy picture that looks lovely on a classroom wall or a fridge at home.
3. Torn Paper Snowy Tree
Tear white and light blue paper into small pieces instead of cutting them, because torn edges look soft like snow. Give each child a green triangle cut from card and let them glue the torn paper pieces around it to make snow sitting on the branches. Add a brown rectangle trunk at the bottom and a yellow paper star on top. This craft is great for fine motor skills, and it teaches children that torn paper can be just as pretty as cut paper. Keep the pieces small so the tree still shows through.
4. Puffy Paint Snow
Mix equal parts white glue and shaving cream in a small cup to make puffy paint. Children can spread it on blue card with a craft stick to make snowy hills, snowmen, or a whole winter scene. Add a few drops of silver glitter while the paint is still wet if you like a little sparkle. The paint dries soft and raised, which feels fun to touch the next day. This one needs drying time, so plan it early in the morning and let the pictures rest flat on a table until home time.
5. Snowman Name Craft
Write each child's name in big letters on a strip of white card, then cut the strip into separate letters if the children are ready for scissors. Let them glue the letters down a tall piece of blue paper in order, one under the other. Turn each letter into a snowman part by adding a small paper hat, a scarf strip, or a drawn face. This craft doubles as name practice, and children love seeing their own name turn into a snowy friend. Keep the letters large so little hands can handle them with ease.
Winter Animal Crafts
Winter animals are a favorite with kindergarten children, and these crafts turn penguins, owls, polar bears, and reindeer into simple art projects. The animals give children a clear shape to work toward, but there is still lots of room for color choices and silly faces. Talk about where each animal lives while the children work, and let them tell you what their animal is doing in the snow.
I tried the polar bear one with my class last month, and one boy gave his bear a red scarf and told me it was cold, so I added a scarf to every bear after that. It was a small change, but the children loved it.
6. Penguin Handprint
Paint the palm and fingers of one hand black and press it firmly onto white paper to make the penguin body. Once the paint dries, add a white paper belly shape, two small black paper wings, and an orange triangle beak. Add googly eyes or draw eyes with a black crayon. Children love seeing their own hand turn into an animal, and each penguin looks a little different because every hand is a different size. Keep baby wipes nearby for a quick cleanup after the handprint step.
7. Pinecone Snowy Owl
Give each child a clean pinecone and a small pot of white paint. Let them dab paint on the tips of the pinecone scales to look like snow, then set it aside to dry. While it dries, cut two round white paper eyes, two smaller black circles for pupils, and a small orange triangle beak. Glue the eyes and beak near the top of the pinecone and add two small paper wings on the sides. The finished owl can sit on a shelf, and it looks charming next to a small paper tree.
8. Polar Bear Paper Plate
Paint a paper plate white and let it dry, or leave it plain if time is short. Glue two small white circles on top for ears, and add smaller pink circles inside them. Draw a black nose and a smile with a crayon, and add two black dots for eyes. Add a strip of blue paper at the bottom for ice. This bear is sweet and simple, and it works well for a class display because all the bears look friendly together.
9. Paper Plate Reindeer
Paint a paper plate light brown and let it dry while you cut antlers from brown card. Glue the antlers to the top of the plate, then add two large paper eyes and a big red circle for the nose. Draw a smile under the nose and add two small paper ears on the sides. If you have pipe cleaners, twist two short pieces into antlers instead of paper, which gives a fun bumpy shape. This reindeer is a cheerful winter friend, and it looks great hung on a door with a loop of ribbon at the back.
10. Snowy Fox Collage
Cut a large fox face shape from orange card, or give children a printed outline to color in orange. Add white paper cheeks, a white tip on the nose, and two pointed ears with pink inner pieces. Glue small cotton ball pieces around the edges to look like snow on the fur. Children can draw eyes and a small black nose with a crayon. Talk about how a fox stays warm in winter while they work. This collage is a good fit for a quiet afternoon, because the gluing is slow and calm.
Ornaments and Cards
Ornaments and cards let children make something to take home and share, which makes these crafts extra special in December. The projects below are sturdy enough to hang on a tree or tuck into an envelope, and they use materials that dry well overnight. Make one set for the classroom tree and one set to send home, and you will have a happy class and happy families too.
11. Salt Dough Ornament
Mix two cups of flour, one cup of salt, and one cup of warm water to make a soft dough. Let each child roll a small ball flat and press it with a cookie cutter to make a star, a tree, or a snowflake shape. Poke a hole near the top with a straw for ribbon. Bake the shapes at a low heat until hard, then let them cool. Children can paint them white, silver, or light blue, and add glitter while the paint is still wet. Thread ribbon through the hole for hanging.
12. Snow Globe Card
Fold a piece of card in half to make a card. On the front, glue a clear plastic circle cut from a sandwich bag over a small winter drawing, then slip a pinch of silver glitter inside before you seal the edges. Draw a snowman, a tree, and falling snow inside the globe with crayons. Write a short winter message inside the card with help if needed. The glitter moves when the card is shaken, which makes children giggle every time. Keep the glitter amount small so it does not spill out.
13. Popsicle Stick Snowflake
Give each child three popsicle sticks and help them glue the sticks into a star shape with six points. Once the glue dries, paint the star white or light blue and add glitter while the paint is still wet. Glue a small white pom pom in the center and tie a loop of ribbon to one point for hanging. This ornament is light, strong, and easy for small hands to hold. It also makes a sweet gift for a family member, and children feel proud to say they built it all by themselves.
14. Handprint Wreath Card
Paint one hand green and press it in a circle on white card to make a wreath shape, with each print overlapping the last. It takes about eight prints to go all the way around, so children can take turns or use both hands. Once the paint dries, add red paper dots for berries and a red paper bow at the bottom. Write a winter greeting inside the card. This card is a keepsake because the handprints show how small their hands were, and families love to keep it long after winter ends.
15. Button Snowman Card
Fold white card in half to make a card. Glue three white buttons down the front in a tall stack to make a snowman body. Add a tiny paper hat, a small strip of colored paper for a scarf, and two black dots for eyes drawn with a crayon. Draw stick arms on each side and a few snowflakes around the edges. This card is simple, cute, and quick, which makes it a good choice for a busy day. Children can make one for a friend and one for a family member in the same session.
Simple Painting and Stamping Crafts
Painting and stamping crafts are perfect when you want a calm art table with lots of color and very little fuss. The tools are simple, a sponge, a potato stamp, or a little foot, and the results are always bright and cheerful. Put down newspaper, roll up sleeves, and let the children explore paint in a way that feels free and fun rather than strict and neat.
16. Sponge Painted Snowflakes
Cut a kitchen sponge into a small star or snowflake shape, or use a store bought sponge stamp if you have one. Dip the sponge in white paint and press it onto dark blue paper to make soft snowflakes. Let children add a few more prints in light blue and silver for a frosty sky. Add a few dots with a fingertip for falling snow. This craft is quick, clean, and very satisfying, because each stamp makes a clear shape right away. Hang the finished papers together for a snowy classroom display.
17. Potato Stamp Snowman
Cut a potato in half and press a small round cookie cutter into the flat side to make a stamp shape, or just use the round potato half as it is. Dip the potato in white paint and stamp three circles down a piece of blue paper to build a snowman. Add a paper hat, a scarf, and a drawn face once the paint dries. This is a fun sensory craft, and children enjoy the soft squash of the potato on the paper. Keep extra paper nearby, because most children will want to stamp a second snowman right away.
18. Footprint Reindeer
Paint the bottom of one foot light brown and press it onto white paper to make the reindeer body and head in one print. Once the paint dries, add paper antlers, two eyes, and a red nose with glue and paper. Draw a tail and legs with a brown crayon. This craft makes children laugh, because painting a foot feels ticklish and silly. Have a bowl of warm water and towels ready for cleanup, and do this craft in small groups so each child gets help with the print and the wash.
19. Winter Tree Finger Painting
Give each child a piece of paper with a brown tree trunk already drawn or glued on. Let them use fingertips dipped in green, white, and light blue paint to make leaves and snow on the branches. Add a few red fingertip dots for berries and a yellow dot on top for a star. This painting is open ended, so each tree looks different, and children can keep adding dots until they feel it is done. It is a lovely quiet craft for the end of the day, and it dries quickly on a rack.
20. Marshmallow Stamped Snow
Give each child a large marshmallow to use as a stamp, or cut one in half for a smaller print. Dip the flat side in white paint and stamp dots all over a piece of dark blue paper to make falling snow. Add a small paper house or a drawn tree at the bottom for a scene. The marshmallow makes soft round prints that look just like snowflakes from far away. This craft is easy, fun, and a great way to use up marshmallows after a cocoa day, and children love the novelty of painting with food.
Frequently Asked Questions
How long should a kindergarten winter craft take?
Most of these crafts take 15 to 30 minutes, which fits well into a morning art block. Short crafts work best right after circle time, when energy is high and focus is fresh. If a craft needs drying time, plan it early in the day and let the children move to another activity while it dries. Keep the steps to three or four at most, and help with the tricky parts so no child feels stuck.
What materials should I keep on hand for winter crafts?
Keep white and blue paper, cotton balls, glue sticks, child safe scissors, white paint, and crayons in a winter craft box. Add paper plates, popsicle sticks, pipe cleaners, and a little glitter for sparkle. A roll of newspaper for table coverings and a stack of baby wipes for quick cleanups will save you time every day. When the box is ready, you can start a craft without a long hunt for supplies.
How do I keep the mess under control?
Cover tables with newspaper, give each child a smock or an old shirt, and put paint in small pots with a little paint at a time. Use glue sticks for paper and save liquid glue for cotton balls and heavier pieces. Keep a damp cloth nearby for hands, and teach children to wipe their own hands when they finish a step. A calm cleanup song helps the class tidy up together without fuss.
Can these crafts work for a mixed age group?
Yes, these crafts work well for ages four to six with small changes. Younger children can tear paper instead of cutting, and they can use stickers instead of drawn details. Older children can cut their own shapes, add writing, and make more detailed scenes. Let each child work at their own pace, and offer help only when they ask for it or look frustrated.
What if a child does not want to do the craft?
Let the child watch first, or offer a simpler choice like coloring a winter picture at the same table. Some children need time to warm up to paint or glue on their hands, and that is fine. Invite them to join when they are ready, and praise any small step they take. Never force a child to finish a craft, because a happy choice leads to better art and a better day.
How can I display winter crafts in the classroom?
Hang paper crafts at child eye level on a wall or a board, and place ornaments on a small classroom tree or a branch in a pot. Group similar crafts together so families can see the range of work, and add a small label with the craft name and the date. Rotate the display every week so fresh work gets a turn. A bright winter display makes the whole room feel cozy and proud.
Final Thoughts
Winter crafts in kindergarten are not about perfect snowmen or neat lines. They are about small hands learning to cut, glue, paint, and imagine, and about a classroom that feels warm even when it is cold outside. Pick one craft that fits your day, gather the supplies the night before, and let the children lead with their own ideas. Some snowmen will lean, some penguins will have wonky eyes, and some trees will have far too much glitter, and all of them will be wonderful. Keep the best pieces for the classroom wall, send the rest home with pride, and enjoy the quiet joy of a winter craft table done well. When spring comes, you will still remember the cotton ball snowman that fell asleep on the drying rack, and so will the child who made it.
