
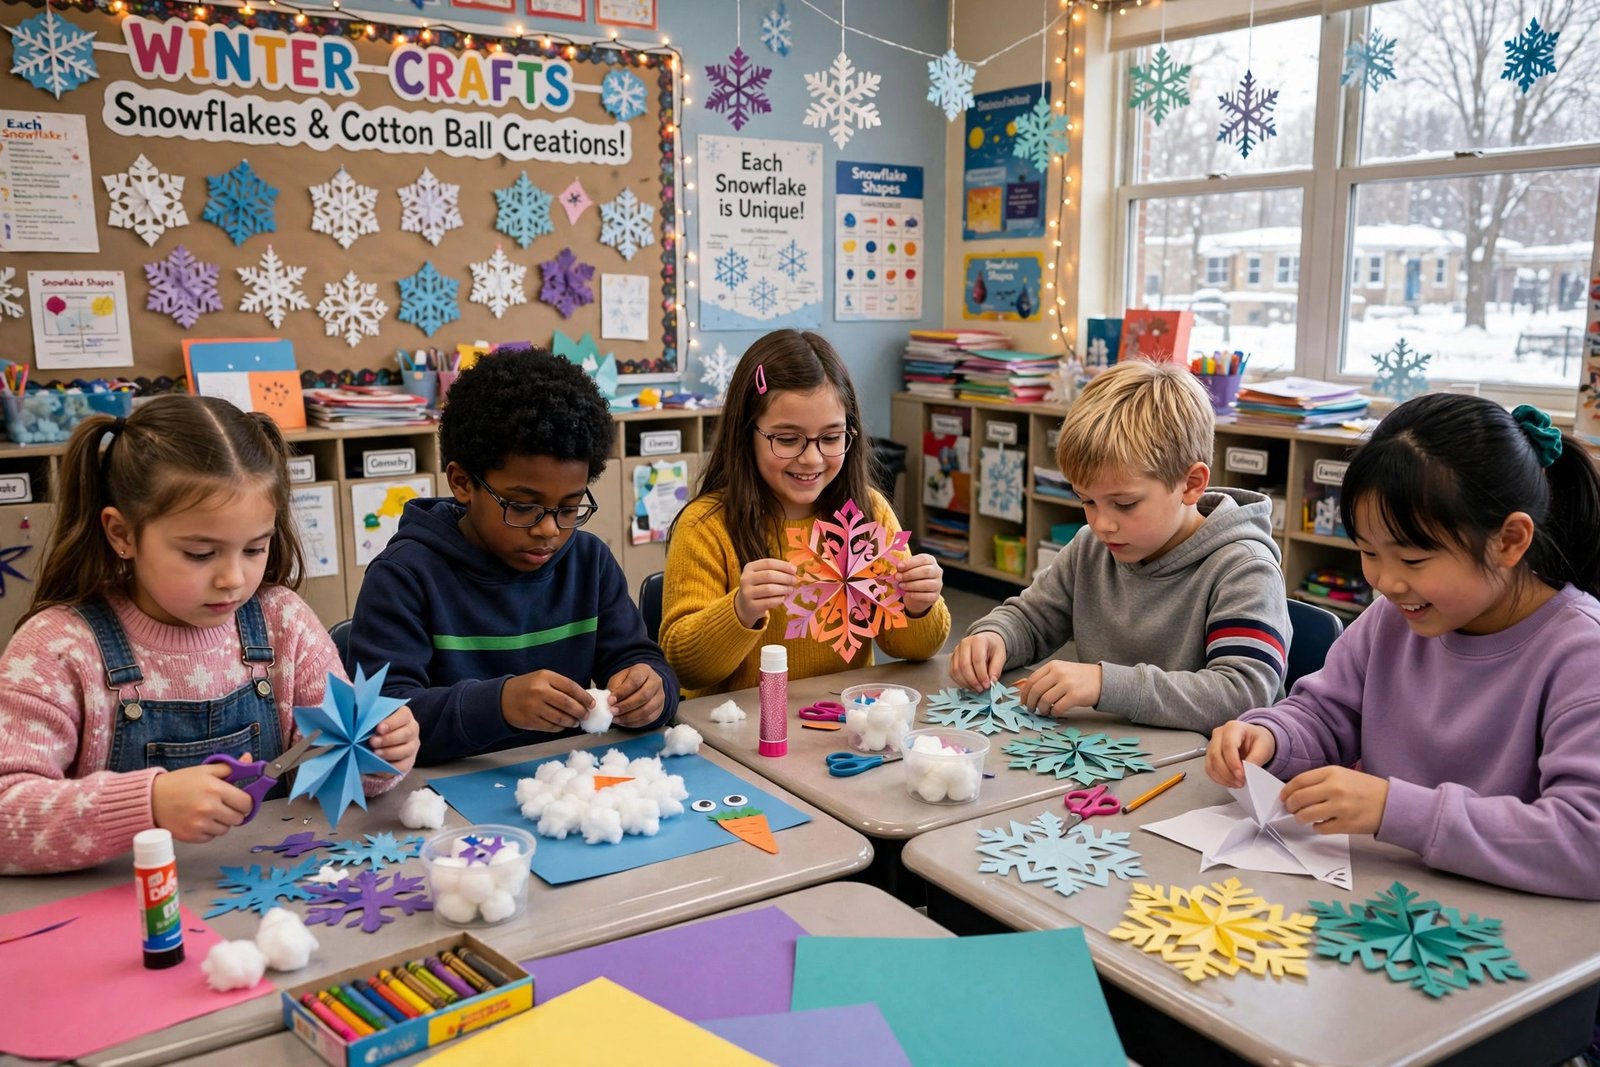

It was a Tuesday morning in early December, and the first real snow of the season was falling past our classroom windows in big, slow flakes. The kids had already pressed their noses to the glass twice before the bell even rang, and I could tell that no spelling worksheet was going to hold their attention that day. So I put the worksheets aside, pulled out a bin of white paper and cotton balls, and told the class we were going to make our own winter. Within ten minutes, the room smelled faintly of glue, someone was humming a song about snowmen, and a shy student who rarely spoke up was proudly showing me a paper snowflake she had cut all by herself.
Winter is a perfect season for classroom crafts because the themes are so easy for young children to picture. Snow, mittens, penguins, hot cocoa, pine trees, and twinkling lights are all things most elementary students already know and love. You do not need fancy supplies or a big budget to make these projects work. Most of them use paper, glue, paint, and a few odds and ends you probably already have in your supply closet. The ideas below are grouped so you can pick a few for a single afternoon or spread them across a whole week. Each one is classroom tested in spirit, simple to set up, and easy to adapt for younger or older elementary students.
Table of Contents
Paper and Scissor Crafts
Paper crafts are a great place to start because they are cheap, quiet, and easy to clean up. They also build fine motor skills, since cutting, folding, and gluing all ask small hands to work carefully. Keep a stack of construction paper, safety scissors, and glue sticks close by, and cover tables with old newspaper if your group tends to get glue everywhere.
1. Paper Plate Snowman
Give each student a white paper plate, a second smaller plate for the head, and a handful of simple decorations. Kids glue the plates together, then add a carrot nose cut from orange paper, black paper circles for eyes and buttons, and a strip of felt or paper for a scarf. A few cotton balls glued around the edge make a fluffy snow effect. This project takes about twenty minutes and works well for kindergarten and first grade because the steps are clear and forgiving. Let students choose their own scarf colors so every snowman looks a little different.
2. Fold and Cut Snowflakes
Show students how to fold a square of white paper into quarters or eighths, then cut small triangles and shapes from the folded edges. When they unfold the paper, a snowflake appears, and the surprise never gets old. Remind kids to leave some paper connected at the folds or the snowflake will fall apart into pieces. Coffee filters also work beautifully for younger children because they are thin and easy to cut. Hang the finished snowflakes in the windows where the light shines through them.
3. Mitten Matching Pairs
Cut large mitten shapes from colored construction paper, two per student, and let kids decorate each pair with patterns, dots, stripes, and stickers. Then mix up all the mittens and play a matching game where students find the pair that belongs together. This craft doubles as a pattern lesson, and it is a good fit for a math center. You can also punch a hole at the wrist and thread yarn through it so the mittens hang together like a real pair.
4. Penguin Paper Chain
Students cut strips of black, white, and orange paper, then loop them into a chain where each link becomes part of a penguin body. Add a white oval belly, a small orange beak, and two googly eyes to the front link, and the chain turns into a waddling friend. Kids can make the chain as long or as short as they like, which makes this a nice project for fast finishers. Hang the penguins from the ceiling or along a bulletin board for a cheerful winter display.
5. Winter Tree Collage
Give each child a sheet of blue paper and torn pieces of green, white, and brown construction paper. They glue a brown trunk near the bottom, then layer torn green shapes upward to form a pine tree, adding white pieces as snow on the branches. Torn paper edges look soft and snowy, and tearing is easier than cutting for younger students. Finish with small paper circles as ornaments or a yellow star on top. This collage makes a lovely take-home piece and a great hallway display.
Painting and Printing Crafts
Painting projects feel special to kids because they are a little messier and a little more grown up than paper crafts. Put out smocks or old shirts, cover tables well, and keep the paint in small cups so spills stay small. These ideas use simple printing tricks that give beautiful results even when a child is still learning to control a brush.
6. Fingerprint Snowmen
Pour a small amount of white paint onto a paper plate and show students how to press one fingertip into the paint, then onto dark blue paper, to make three stacked circles. Once the paint dries, kids add tiny details with a black marker, like eyes, a smile, stick arms, and a hat. Each snowman turns out a little different because every fingerprint is unique, and kids love that. This project is quick, low mess, and perfect for a morning warm-up activity before lunch.
7. Sponge Painted Snowy Night
Cut kitchen sponges into simple shapes like stars, trees, and circles, and set out trays of white, silver, and light blue paint. Students press the sponge shapes onto dark paper to build a snowy night scene with stars, falling snow, and a moon. Sponge painting is forgiving, since the shapes do the hard work and the results always look good. Encourage kids to layer the shapes and leave some dark sky showing through. The contrast between the bright paint and the dark paper makes these pictures stand out on a wall.
8. Handprint Reindeer Cards
Trace or paint one handprint in brown paint on white card stock, then turn it into a reindeer once it dries. The fingers become antlers, and students add a red circle nose, two eyes, and a smile with markers or paper shapes. Fold the card stock in half first so the finished reindeer sits on the front of a greeting card. Kids can write a short message inside for a family member. This keepsake is a favorite with parents, and it gives students a real reason to practice neat handwriting inside the card.
9. Cotton Ball Snow Painting
Instead of a brush, give students cotton balls held with clothespins to dab white and light blue paint onto paper. The dabbing motion creates a soft, textured look that is perfect for snowdrifts, clouds, and snowy hills. Kids can paint a simple scene first with a brush, then add the cotton ball snow on top for texture. This is a wonderful project for students who find brushes tricky to hold, since a clothespin grip is easier. It also slows the class down in a good way, because dabbing takes patience.
10. Q-Tip Dot Snowflakes
Hand out cotton swabs and small cups of white and pale blue paint, and let students build snowflakes one dot at a time on dark paper. Start with six lines of dots spreading out from a center point, then add smaller dots between the lines. The finished snowflakes look delicate and detailed, and the slow, careful work helps kids practice focus and control. This project takes a bit longer than the others, so it works well as a quiet center activity. Frame the best ones together on a board titled with a simple winter heading.
Comparing a Few Favorites
| Craft | Time Needed | Main Materials | Mess Level |
|---|---|---|---|
| Paper Plate Snowman | About 20 minutes | Paper plates, paper scraps, cotton balls, glue | Low |
| Fold and Cut Snowflakes | About 15 minutes | White paper or coffee filters, safety scissors | Low |
| Sponge Painted Snowy Night | About 30 minutes | Sponges, paint, dark paper | Medium |
| Cotton Ball Snow Painting | About 25 minutes | Cotton balls, clothespins, paint, paper | Medium |
| Handprint Reindeer Cards | About 30 minutes | Card stock, brown paint, markers | Medium |
| Winter Tree Collage | About 25 minutes | Construction paper, glue | Low |
Building and Sensory Crafts
Building crafts let kids work with their hands in three dimensions, which is a nice change from flat paper projects. These ideas use simple, safe materials and give students something they can hold, stack, or play with when they are done. Set clear rules about sharing materials before you begin, since small parts like pom-poms and buttons tend to wander across tables.
11. Marshmallow Snowman Stackers
Give each student three large marshmallows, toothpicks, and a small plate. Kids stack the marshmallows with toothpicks to build a snowman body, then add pretzel sticks for arms and mini chocolate chips for eyes and buttons. Remind students that toothpicks are tools, not toys, and collect them at the end of the activity. This project is a big hit because it is part craft and part snack, and students love showing off their snowmen before eating them. Keep a few extra marshmallows on hand for the ones that squish.
12. Pine Cone Bird Feeders
Tie a length of string around the top of a clean pine cone, then let students spread peanut butter or sunflower seed butter over it with a craft stick. Roll the pine cone in birdseed until it is coated, then hang it outside near a window where the class can watch for birds. Talk with students about which birds visit in winter and why food is harder for them to find. If nut allergies are a concern in your class, use vegetable shortening instead, which works just as well. This project connects craft time to science in a natural way.
13. Snow Dough Sensory Bin
Mix a simple dough from flour, salt, and water, or use white play dough, and set out a bin with small cups, plastic animals, and tiny pine branches. Students shape snowballs, build tiny snowmen, and create winter scenes in the dough. This is a calm, open-ended activity that works well for early finishers or a quiet corner. Last winter I tried this with my second graders on a Friday afternoon, and most of the class played happily for half an hour. One table mixed in far too much glitter and we spent ten minutes cleaning it up, so now I keep the glitter in my own hand and sprinkle it myself.
14. Popsicle Stick Snowflakes
Students glue popsicle sticks into star shapes, crossing three sticks at the center to make six points. Once the glue dries, they paint the sticks white or light blue and add glitter, sequins, or small beads. A loop of yarn at one point turns the snowflake into an ornament for a classroom tree or a window. This project teaches patience because the glue needs time to dry before painting, so plan it across two short sessions if you can. The finished snowflakes are sturdy enough to send home safely in a backpack.
15. Winter Slime in a Jar
Make a simple batch of white or pale blue slime ahead of time, then let students add small winter extras like tiny foam snowflakes, glitter, and small plastic stars. Store each portion in a clear jar with a lid so students can take it home or keep it at a sensory station. Slime is always popular, and the winter colors make it feel seasonal instead of random. Set a clear rule that slime stays in hands or in the jar, never on clothes or hair. If your school has a no-slime rule, swap this idea for a snow globe in a jar instead.
Gifts and Classroom Displays
The last group of crafts is perfect for the final week before winter break, when students want to make something for their families. These projects also double as classroom decorations, so the room looks festive while the work is still on display. Plan a little extra drying time for anything with paint or glue, and have bags or folders ready for safe transport home.
16. Paper Bag Reindeer Puppets
Give each student a brown paper bag and paper shapes for antlers, eyes, a nose, and ears. Kids glue the pieces onto the folded end of the bag so the bottom flap becomes the puppet mouth. Once the puppets are dry, students can put on a short winter play in pairs or small groups. This project pairs well with a read-aloud about reindeer or winter animals, and the puppets store flat in a folder. Encourage kids to give their reindeer a name and one funny trait to share during the play.
17. Hot Cocoa Gift Mugs
Wrap a plain paper cup or a small foam cup in colored paper, and let students decorate it with drawings of marshmallows, candy canes, and snowflakes. Tuck a packet of cocoa mix and a few mini marshmallows inside, then cover the top with tissue paper and a ribbon. Students can give the mug to a family member or a school helper like a librarian or custodian. This project teaches thoughtfulness in a concrete way, since kids think about who would enjoy the gift. It also makes a sweet class gift for a winter party.
18. Winter Window Clings
Students draw winter shapes like snowflakes, mittens, and stars on wax paper using puffy paint or white glue mixed with a little paint. Once the shapes dry completely and peel off the paper, they stick to windows with a light press. These clings brighten the classroom without tape or staples, and they can be peeled off and reused. Remind students to draw thick lines, since thin lines tear when peeled. This is a good project for a Friday because the shapes can dry over the weekend.
19. Classroom Winter Garland
Cut strips of paper in winter colors and let each student decorate a few strips with drawings, words, or patterns. Link the strips into a long chain and hang it across the room, or make a garland of paper snowflakes, mittens, and stars strung on yarn. A garland is a true group project, since every child contributes a piece and the result belongs to the whole class. Measure the finished garland together for a quick math moment. Save it from year to year if you have storage space, and add new pieces each winter.
20. Snow Globe Jars
Help students glue a small plastic figure or a tiny pine tree to the inside of a jar lid, fill the jar with water and a spoonful of glycerin, and add a pinch of glitter. Screw the lid on tightly, seal the edge with a little hot glue applied by an adult, and flip the jar to watch the snow fall. Snow globes feel magical to young children, and they make wonderful gifts. Do the gluing and sealing yourself or with one small group at a time, since hot glue is not for student hands. Let the jars sit overnight before sending them home.
Frequently Asked Questions
How much time should I plan for a winter craft in class
Most of the crafts in this list take fifteen to thirty minutes of active work, plus a little time for setup and cleanup. Plan for a full forty-five minute block if you want a relaxed pace with time to share finished work. If your schedule is tight, pick a paper craft like snowflakes or mitten pairs, which need almost no drying time. Painting projects need a bit more time, especially if you want the work dry enough to send home the same day.
What if I do not have a big craft budget
Almost every idea here uses paper, glue, paint, and basic supplies that most classrooms already stock. You can stretch supplies by cutting paper into smaller pieces, sharing paint cups between tables, and using recycled materials like paper bags, jars, and cardboard. Ask families to donate items like pine cones, buttons, and fabric scraps at the start of winter.
How do I adapt these crafts for younger students
For kindergarten and first grade, choose projects with fewer steps and bigger pieces, like the paper plate snowman or the torn paper tree collage. Pre-cut tricky shapes ahead of time and let younger students focus on gluing, decorating, and arranging. Older elementary students can handle more detailed work like Q-tip snowflakes and snow globe jars. The same craft can often work for both groups if you change how much prep you do in advance.
How do I keep craft time from getting too messy
Cover tables with newspaper or plastic tablecloths, put paint in small cups instead of big bottles, and give each table a damp cloth for quick wipe-ups. Assign one helper per table to collect scraps and supplies at the end, which makes cleanup feel like part of the job instead of a chore. Smocks or old adult shirts protect clothes during painting projects. A clear routine helps more than any single supply, so practice the cleanup steps the first time and repeat them every time.
Can these crafts connect to lessons I already teach
Yes, and that is one of the best parts of winter crafts. Snowflakes open the door to symmetry in math, bird feeders connect to animal habitats in science, and mitten matching works as a pattern activity. Reindeer puppets support storytelling and speaking skills, and greeting cards give students a real reason to write. You do not need to force a lesson onto every craft, but when a natural link exists, name it for the class so students see the connection.
What should I do with finished crafts
Display them first, even if only for a few days, because students feel proud when their work is seen. A bulletin board, a clothesline across the room, or a windowsill display all work well. Then send pieces home in folders or bags with a short note about the project. Group projects like the garland can stay up through the winter season. Keeping one or two samples from each year also gives you a nice set of examples to show next year's class.
Final Thoughts
Winter crafts do more than fill an afternoon. They give students a chance to slow down, use their hands, and make something they can be proud of, even on days when the weather keeps everyone inside. The best craft days are rarely the most perfect ones. They are the days when a snowflake tears and a student tapes it back together with a grin, or when a snowman ends up with three eyes and the whole table laughs. Pick the ideas that fit your students, your supplies, and your schedule, and do not worry about making every project flawless. By the time the snow melts outside, your classroom walls will be full of proof that winter was time well spent.
