
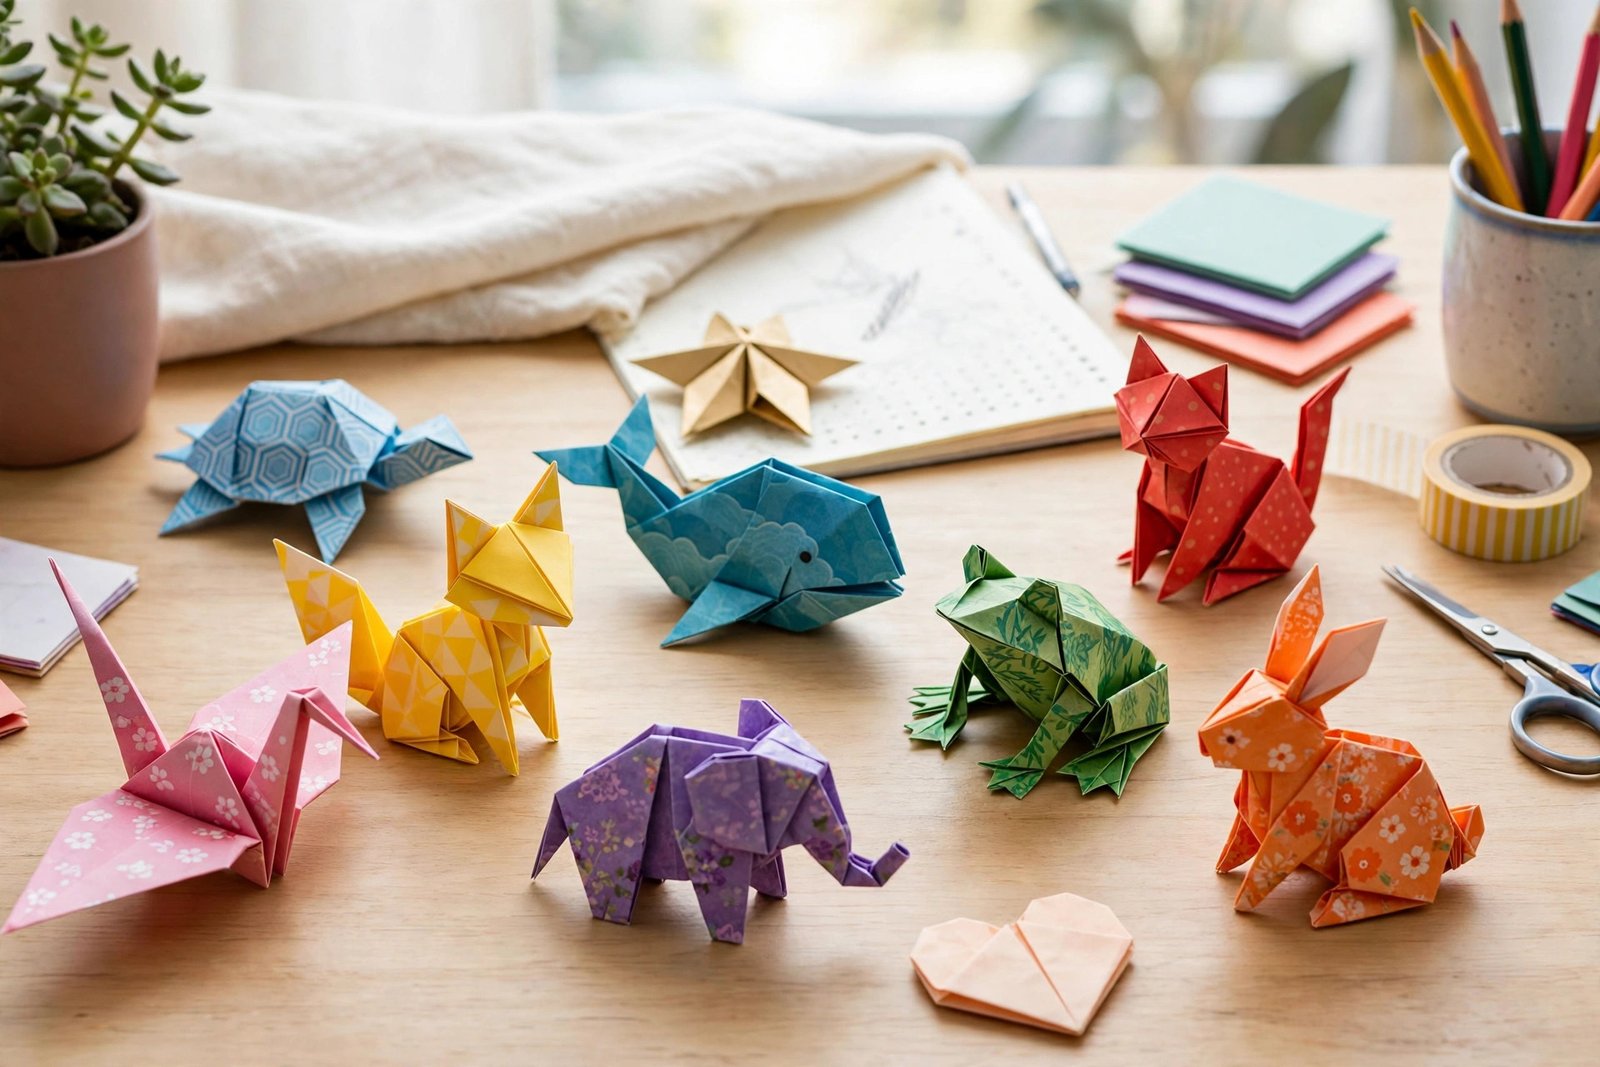

Origami is the art of folding a flat sheet of paper into a finished shape without cutting it or gluing it. The word comes from Japanese, where "ori" means folding and "kami" means paper, and the whole craft runs on one simple promise. A square of paper, a few careful creases, and your hands can turn something plain into a dog, a boat, a box, or a flower. Nothing else is required.
That is exactly why origami belongs in an elementary classroom. Kids practice following steps in order, build fine motor control with every fold, and learn that a mistake is just a crease they can smooth out and redo. A project that takes five minutes can still fill a child with pride when they hold up the finished piece.
Table of Contents
Compare the 18 Origami Projects
Use this quick chart to pick the right project for your class period and the paper you have on hand. Projects with fewer folds work best as first-day warmups, while the ones with more folds make satisfying main activities.
| Project | Folds Needed | Time | Best Ages |
|---|---|---|---|
| Dog Face | 4 | 5 min | 5 to 8 |
| Cat Face | 5 | 5 min | 5 to 8 |
| Fox Face | 4 | 5 min | 5 to 8 |
| Frog Face | 5 | 6 min | 5 to 8 |
| Pig Face | 5 | 6 min | 5 to 9 |
| Butterfly | 8 | 10 min | 7 to 11 |
| Fortune Teller | 10 | 10 min | 6 to 11 |
| Sailor Hat | 5 | 7 min | 5 to 10 |
| Paper Boat | 9 | 12 min | 7 to 11 |
| Paper Cup | 6 | 8 min | 6 to 11 |
| Samurai Helmet | 7 | 8 min | 6 to 10 |
| Corner Bookmark | 6 | 8 min | 6 to 11 |
| Origami Heart | 8 | 10 min | 7 to 11 |
| Paper Shirt | 9 | 12 min | 7 to 11 |
| Simple Envelope | 6 | 8 min | 6 to 11 |
| Tulip Flower | 8 | 12 min | 7 to 11 |
| Treasure Box | 10 | 15 min | 8 to 11 |
| Secret Wallet | 7 | 10 min | 7 to 11 |
What You Need Before You Start
You do not need a special shopping trip to teach origami. Standard copy paper cut into squares works for almost everything here, and a paper trimmer makes quick work of a whole stack. True origami paper is thinner and holds creases beautifully, so it is worth having for the trickier folds like the treasure box. You will also want crayons or markers for drawing faces, plus tape or glue sticks for the tulip stem and a few finishing touches. Keep a small recycling bin nearby, because the first attempt at a new fold sometimes becomes scrap, and that is completely fine. A flat, clear desk surface matters more than any supply. Folds made on a bumpy or crowded desk come out crooked, so give each child a clean folding zone before you begin.
Animal Faces and Friends
Animal faces are the perfect first folds. They use the same basic triangle fold in different ways, they finish fast, and the drawing step lets every child personalize the result. Start your origami unit here.
1. Dog Face
You need one square of paper, any color. Fold the square in half diagonally to make a triangle, with the long edge at the bottom. Take the two bottom corners and fold them downward at a slight angle so they stick out past the bottom edge like floppy ears. Fold the bottom point up just a little to round out the chin. Flip the face over and draw two round eyes, a triangle nose, and a smiling mouth. Crease each fold firmly with your fingernail so the ears hold their shape. Brown, black, or spotted paper makes the cutest pups.
2. Cat Face
Start with a square and fold it in half diagonally into a triangle. This time, fold the two bottom corners upward so their points poke up above the top edge, forming tall triangle ears. Fold the very top point down a short distance to flatten the head. Turn it over and decorate with eyes, a tiny nose, a mouth, and long whiskers drawn outward from the cheeks. Orange paper looks like a tabby, gray looks sleek, and pink ears drawn inside the folded ears add a sweet touch. The upward ear folds are the whole trick, so press them flat.
3. Fox Face
Fold a square diagonally and keep the triangle with its point facing up. Fold the left and right corners upward so they meet at the top point, which creates two sharp ears and a diamond shape. Flip the diamond over and draw a clever fox face with slanted eyes and a pointed nose. Orange or rust-colored paper is classic, and a white triangle drawn at the bottom makes a fluffy-looking chest. This fold is nearly identical to the cat face, so kids who mastered the cat will feel instantly confident. Matching the corners neatly at the top keeps the ears even.
4. Frog Face
Fold a square in half diagonally, then fold the bottom point of the triangle up to meet the top point, making a smaller triangle. Fold the two bottom corners of this triangle upward past the top edge so they form two bumpy eyes. Draw big round eyes on the bumps, a wide smile across the middle, and rosy cheeks if you like. Green paper is the obvious choice, but a purple or blue frog always gets laughs. The eye bumps need firm creases or they flop backward, so press them hard with a thumb.
5. Pig Face
Fold a square diagonally and turn the triangle so one point faces down. Fold the top point down about a third of the way to flatten the head. Fold the two side corners inward just slightly to suggest small ears. Draw a big oval snout in the center with two nostril dots, plus happy closed eyes shaped like little curves. Pink paper is perfect, and a curly tail drawn on the back is a fun surprise for anyone who flips it over. Keep the folds loose and gentle here, since a pig face looks best soft and round rather than sharp.
6. Butterfly
You need a square of paper, and two-sided paper with different colors looks stunning. Fold the square in half horizontally and unfold, then in half vertically and unfold, so you have a cross of creases. Gently push the sides inward along the creases to collapse the paper into a small triangle. Fold the two bottom corners of the triangle up to the top point. Flip the shape over and fold the top point down past the bottom edge. Fold the whole thing in half backward along the center to pop the wings up. Draw a body line down the middle. Pressing the final backward fold is what makes the wings stand up like a real butterfly.
Toys You Can Play With
These are the projects kids actually play with after the bell rings. Fortune tellers get passed around at lunch, hats get worn home, and boats get raced in puddles.
7. Fortune Teller
Start with a square. Fold all four corners into the exact center and crease well. Flip the square over and fold all four corners into the center again. Fold the whole thing in half to make a rectangle, then unfold. Slide your thumbs and index fingers under the four square flaps on the bottom and push them together into the classic fortune teller shape. Write numbers on the outside flaps, and lift each flap to write fortunes or questions underneath. This is the most requested classroom fold for a reason, and kids love inventing silly fortunes for their friends.
8. Sailor Hat
Take a half sheet of newspaper or a large rectangle of white paper. Fold it in half with the folded edge at the top. Fold the two top corners down to the center so they meet, just like starting a paper airplane. Fold the bottom strip of paper upward on the front side, then flip the whole thing over and fold the back strip up too. Open the bottom and it fits right on a head. Kids adore wearing these, and they make great costume pieces for plays about sailors, painters, or chefs. Newspaper gives the classic look, but white paper lets kids decorate with crayons.
9. Floating Paper Boat
Use a rectangle of paper. Fold it in half with the fold at the top, then fold the two top corners to the center like the sailor hat. Fold the bottom flaps up on both sides and tuck the sticking-out corners in neatly. Open the bottom into a diamond shape, then fold the two bottom corners of the diamond up to the top on both sides. Open it into a smaller diamond, then gently pull the two sides apart until the boat shape appears. Press the bottom flat. These really do float, so a tub of water turns this fold into a science moment. Tucking the corners neatly in the early steps keeps the finished boat symmetrical.
I tried this in my class last month, and here is what happened. I set out a shallow bin of water and let each table float their boats, and the room went completely silent for about ten seconds while everyone watched. Then one boat tipped over immediately because its bottom was not pressed flat, and the whole table groaned. We dried it off, re-creased the hull together, and it floated fine on the second try. That soggy first attempt taught them more about careful folding than any lecture from me could have.
10. Paper Cup
Fold a square diagonally into a triangle. Take the bottom right corner and fold it across to the left edge, about two-thirds of the way up. Take the bottom left corner and fold it across to the right edge so the two flaps overlap. Fold the two top points down on the front and back to lock everything in place. Open the middle pocket and you have a real cup. It really holds water for a short drink, which never fails to amaze a class. Overlapping the side flaps evenly is what keeps the cup from leaking at the seams.
11. Samurai Helmet
Fold a square diagonally and keep the triangle with the long edge at the bottom. Fold the two bottom corners up to meet the top point. Take the outer corner of each folded flap and fold it downward so the point reaches the bottom edge. Fold the bottom point of the remaining layer upward. Flip the whole thing over and it looks like a helmet with a brim. This one is big enough to wear, and a classroom full of helmet-wearing samurai is a sight nobody forgets. Use large paper if you want it to fit on actual heads, since small squares make doll-sized helmets.
12. Corner Bookmark
Cut a small square, about four inches across. Fold it diagonally and keep the triangle with the point facing up. Fold the two bottom corners up to meet the top point, forming a diamond. Fold each of those corners back down and tuck them into the pocket you just created. Slide it onto the corner of a book page and it stays put. Kids love decorating these with animal faces, turning them into monsters, cats, or owls that bite the page. The tucked pocket is the key move, so make sure the corners slide fully inside.
Gifts and Pretty Things
This section slows the pace down. These folds take a little longer, and the results are worth keeping, giving away, or displaying.
13. Origami Heart
Fold a square in half from top to bottom and unfold. Fold the left and right edges in to meet the center crease. Flip the paper over. Fold the two top corners down diagonally so they meet in the middle, forming a point at the top center. Fold the two tiny top side corners in slightly to round the heart shape. Flip it back over to reveal the heart. Write a message on the back before folding, and the note stays hidden inside until someone peeks. Red and pink paper are classics, and rounding those tiny corners is what turns a diamond into a heart.
14. Paper Shirt
Use a rectangle of paper. Fold the left and right long edges into the center and crease. Flip the paper over. At the top end, fold the two corners outward diagonally to form the collar points. Fold the very top edge down about an inch to create the collar band. Flip back over, then fold the bottom edge up and tuck it under the collar. Fold the sides in slightly at the top to suggest sleeves. These make adorable cards for Father's Day when you glue them onto folded cardstock. Patterned paper that looks like fabric gives the most realistic shirt effect.
15. Simple Envelope
Take a rectangle and fold it in half, then unfold to mark the center. Fold the two top corners down to the center line. Fold the left and right edges inward about an inch. Fold the bottom edge up past the middle. Fold the top flap down and tuck it into the pocket formed by the bottom fold. A sticker or a small piece of tape seals it shut. Kids use these for secret notes, valentines, and tiny gifts like the origami hearts from the last project. Crisp edge folds make the envelope look store-bought.
16. Tulip Flower
Fold a square diagonally and keep the triangle with the point facing up. Fold the left and right bottom corners upward to the top point to form the petals. Flip the shape over and fold the left and right points inward just a little to narrow the flower. For the stem, take a strip of green paper, fold it in half lengthwise, and slide it behind the flower, securing it with a small piece of tape. Draw or cut leaves and attach them to the stem. A whole class set of these in a paper vase makes a gorgeous spring display. Bright petal colors against the green stem give the best contrast.
17. Treasure Box
Fold all four corners of a square into the center and crease well. Fold the top and bottom edges into the center, then unfold those two folds. Lift the top and bottom flaps upright and fold the side corners inward, tucking them to form the four walls of an open box. Press each corner firmly so the walls stand up. This is the most challenging fold on the list, so demonstrate it slowly and let kids work in pairs. The finished box holds paper clips, tiny treasures, or a folded heart. Sharp creases on every step are essential, because the box walls depend on them to stay standing.
18. Secret Wallet
Use a rectangle of paper. Fold it in half lengthwise and unfold to mark the center. Fold both long edges into the center crease. Fold the strip in half lengthwise again so it becomes narrow. Fold one end up about a third of the way, then fold the other end over it, tucking the end into the pocket of the first fold. It opens and closes like a real wallet. Kids stash tiny notes, pretend money, and miniature drawings inside. Letting them decorate the outside with crayon designs makes each wallet one of a kind. The final tuck should feel snug, so adjust the folds if it slides open too easily.
Tips for Teaching Origami to Young Kids
A few habits make origami lessons run smoothly. Always fold along with the class instead of just giving directions, because kids copy what they see far better than what they hear. Do each step, hold up your paper, and wait until most hands are ready before moving on. Keep the pace slow for the first project and let it speed up as confidence grows. Seat kids who finish quickly near kids who need help, and let the fast folders become coaches. It builds leadership and saves your voice.
Paper choice matters more than most teachers expect. Thin paper folds easily but tears when kids press too hard, while thick cardstock resists crisp creases. Standard copy paper is the sweet spot for beginners. Pre-cut your squares before class, because cutting eats up folding time and uneven squares cause lopsided results.
Frequently Asked Questions
What age is best for starting origami in the classroom?
Most children can handle simple folds around age five or six, which covers kindergarten and first grade. The animal faces in this list are ideal starters because they need only four or five folds and finish in minutes. Save multi-step projects like the treasure box for third grade and up, when kids have the patience for longer sequences. Every class is different, so watch your students and adjust.
What kind of paper should I buy for classroom origami?
Standard copy paper cut into squares is the best everyday choice, since it is cheap, easy to find, and folds well. True origami paper is thinner with a colored coating, and it makes crisper folds for display pieces, so keep a pack for special projects. Avoid construction paper for beginners because it is thick and cracks along the creases. Whatever you choose, pre-cut it into squares before the lesson starts.
How do I help students who fall behind during a folding lesson?
Pause the whole class at natural checkpoints, such as after every three folds, and do a quick show of hands for anyone who needs help. Pair struggling students with confident folders who can coach them one on one. You can also keep a finished model at each table so kids can study it and catch up on their own. Never rush past a confused child, because one missed fold ruins every step after it.
Can origami really teach math and other subjects?
Yes, and teachers use it for exactly that. Folding in half demonstrates fractions in a way kids can see and touch, and naming shapes like squares, triangles, and rectangles reinforces geometry vocabulary. Following multi-step directions builds sequencing skills that transfer to reading and science procedures. Many teachers also use origami as a calm-down activity, since the focus it requires settles a noisy room.
How do I display finished origami projects?
A bulletin board with a solid background color makes folded pieces pop, and you can staple the models directly through a back fold so they stay flat. String and mini clothespins turn a classroom line into a floating gallery that is easy to update. For three-dimensional pieces like the treasure box, a shelf or windowsill works better than a wall. Photograph the display before sending pieces home, so you keep a record of the work.
What should I do when a student's fold does not look right?
Treat it as normal, because even experienced folders make crooked creases. Show the child how to unfold back to the last good step and redo just that fold, rather than starting over from scratch. Keep scrap paper handy so anyone who wants a fresh start can take one without embarrassment. Praise the effort out loud, since confidence is what keeps kids folding.
Final Thoughts
Eighteen projects might sound like a lot, but you do not need to teach them all in one week. Pick one animal face for your first lesson and watch how quickly the room fills with focus and pride. Add a toy fold the next time you need a high-energy activity, and save the gifts for holidays and special occasions.
The real magic of origami is not the finished dog or boat or box. It is the moment a child who said "I can't do this" holds up a finished fold and realizes they just did. Keep the paper stocked, keep your patience handy, and keep folding alongside them. Your class will surprise you with what their hands can learn.
